Mimicking Cheesecake Factory’s Dutch Apple Caramel Streusel Cheesecake: a Redemption Story
Abstract
(Future) Dr. Bulldog revisited the cheesecake – a failed experiment from the past – and put an apple spin on the product. The result was pretty appeeling (pun totally intended and not ashamed of it).
Background

Okay, it was more like a city far, far away, and only like a few years ago. Back then, (future) Dr. Bulldog was still a budding chemistry major (or in my colleagues’ language, "one of those annoying undergrads"), and attempted to make a cheesecake one summer afternoon. I went into the project overwhelmingly unprepared, and whatever came out of the oven was rather disgusting. I went deep into my photo archives searching for a picture I took of my sad looking cheesecake, but I was unable to find it to illustrate my point. Essentially, while the crust was well done, for unknown reason(s) the cheesecake filling was still in liquid form following the baking and chilling processes, and the top was very much caramelized, even burnt. Perhaps the sugar was not folded into the cream cheese too well. Since that day, cheesecake has become my nemesis, and I have always imagined returning to this project and giving it another go.
Recently, a lab mate of mine mentioned her favorite cheesecake at Cheesecake Factory, the Dutch Apple Caramel Streusel Cheesecake, had been discontinued, and said I should try to make it. All I could say was,

The following account describes in detail my redemption journey. The challenges were multi-fold: apart from the psychological fear that I would fail, again, at my cheesecake attempt (kind of like my ligand synthesis in research right now …), I have never had a dessert baking operation of this magnitude. I was also unfamiliar with cooking with apples (see discussion for my reasoning), so I was quite attracted to this apple-based deliciousness.
Experimental
Much credit goes to Julie Clark, whose recipes of the original Cheesecake Factory cheesecake and the apple, caramel & streusel modification are published online. *I did not attach the url's to those pages since the blog does not like having underscores in the url's; just google them.
Ingredients
Cheesecake crust
1 cup graham cracker crumbs
0.5 cup vanilla wafer crumbs
0.25 tsp ground cinnamon
0.33 cup butter, melted
Cheesecake filling
2 lb cream cheese, warmed to room temperature
1.25 cups sugar
1 cup sour cream, warme to room temperature
0.25 cup all-purpose flour
5 eggs
1 tbsp vanilla extract
1 tbsp lemon juice
Apple filling
0.25 cup butter
4 large Fuji apples
2 tsp cornstarch
0.5 cup cold water
0.5 cup brown sugar
1 tsp ground cinnamon
Streusel topping
0.25 cup sugar
0.25 cup all-purpose flour
2 tbsp ground cinnamon
0.25 cup butter, melted
0.5 cup chopped walnuts
Caramel sauce
2 tbsp butter
2 cups brown sugar
1 cup 2% milk
2 tbsp vanilla extract
Pinch of salt
Procedure
The Setup
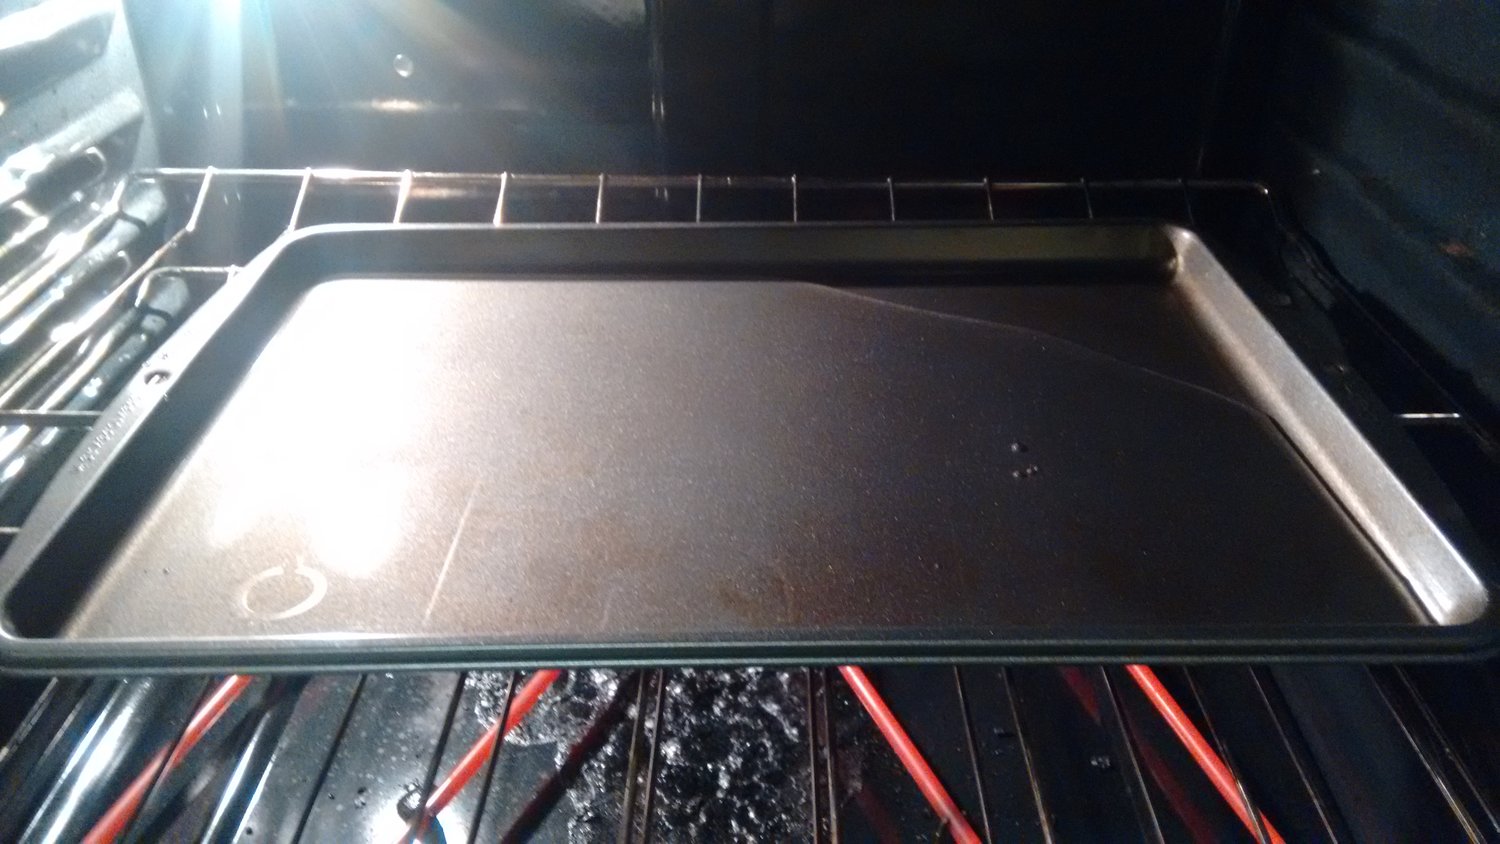
A 15”x10” cookie sheet was placed in a preheated oven (425F). Water was added to the cookie sheet as a water bath.
Cheesecake crust
Graham cracker and vanilla wafer were crushed into fine particulates. They were mixed the ground cinnamon in a medium bowl.
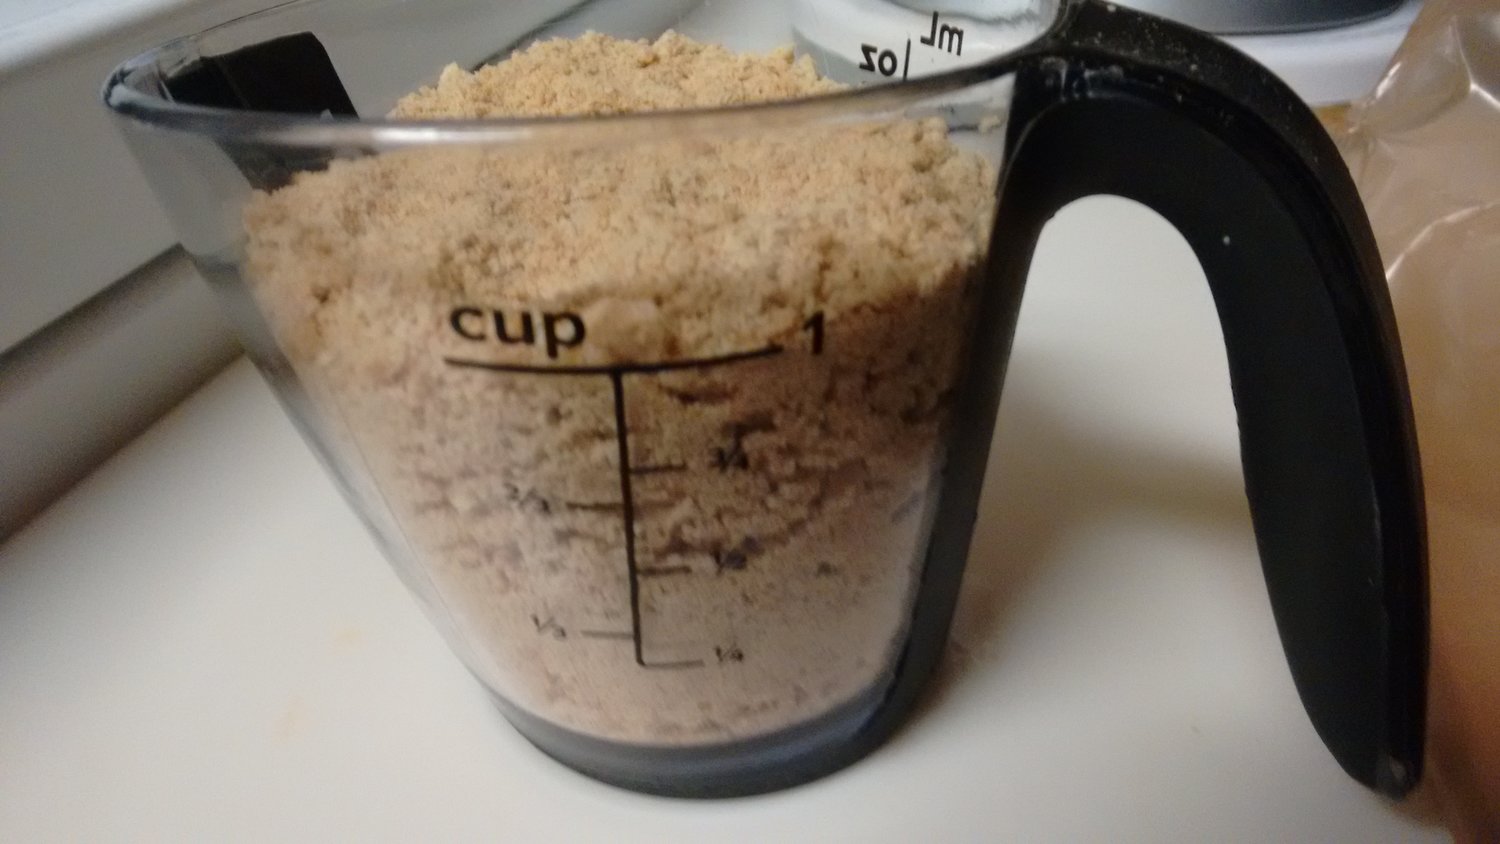
Melted butter was added to mixture, which was mixed well with finger.
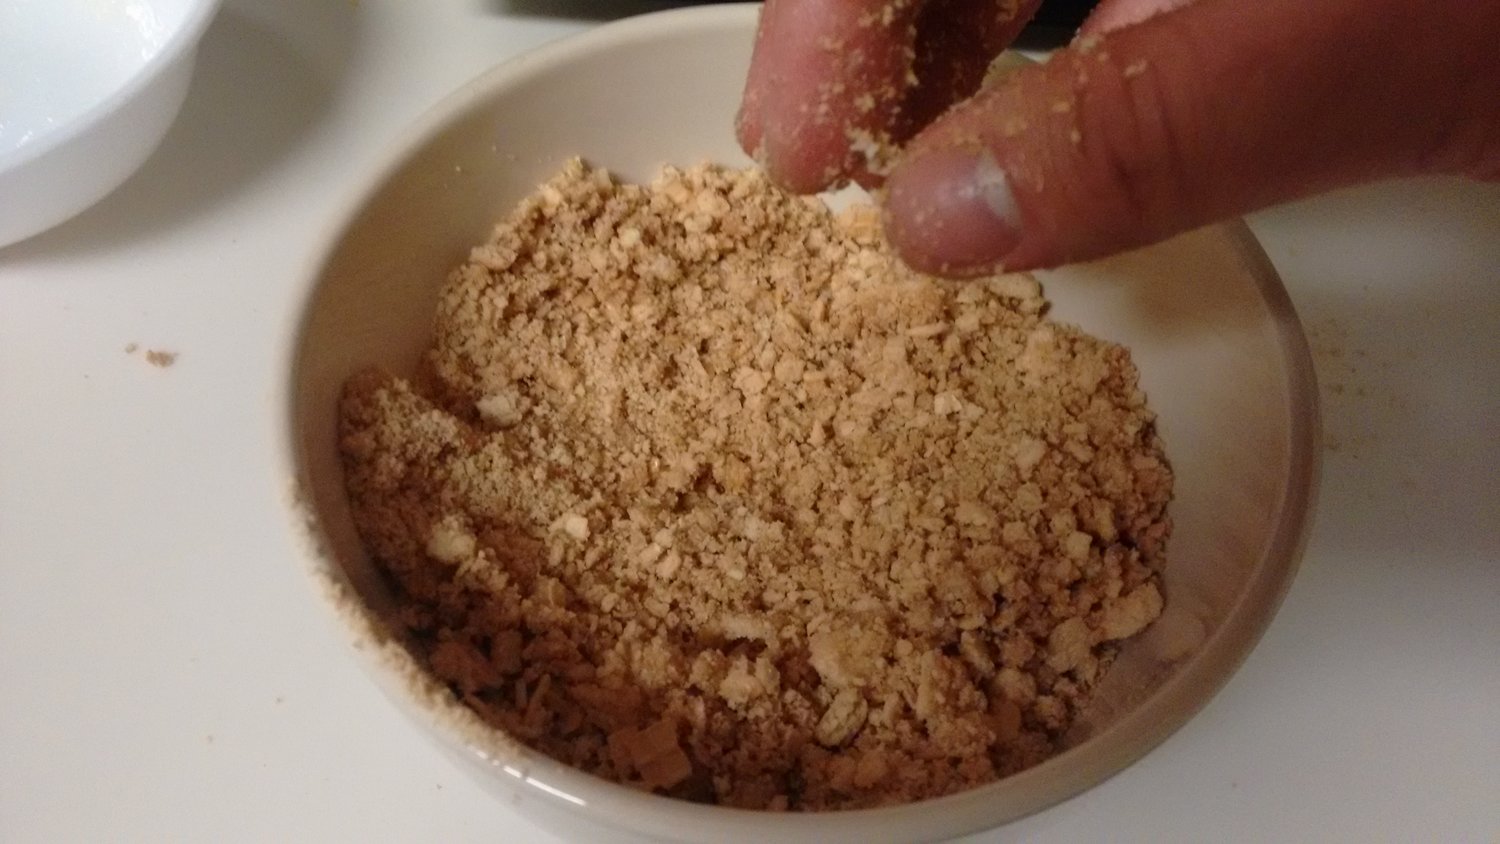
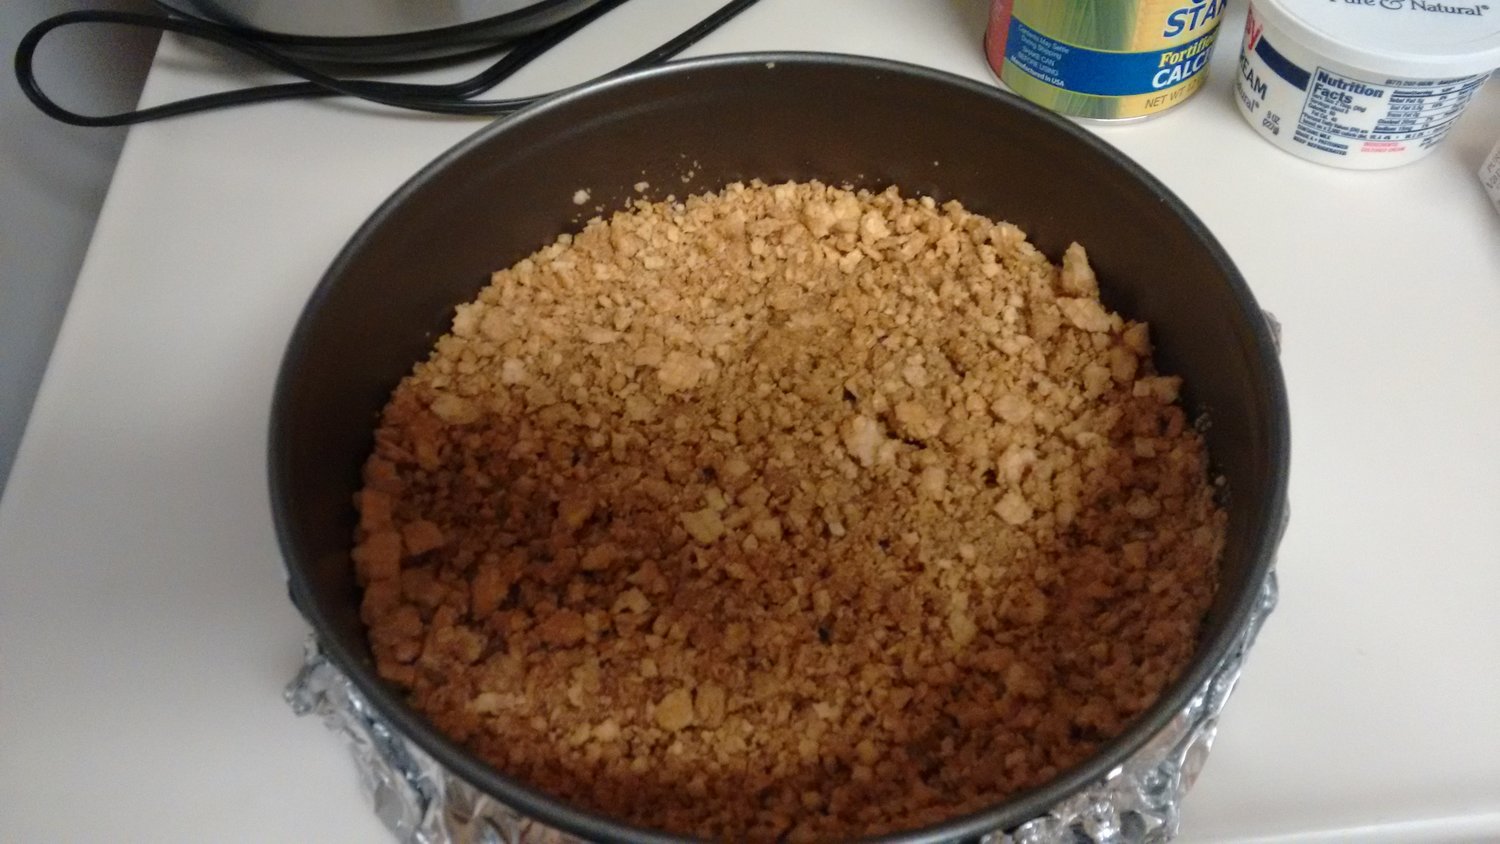
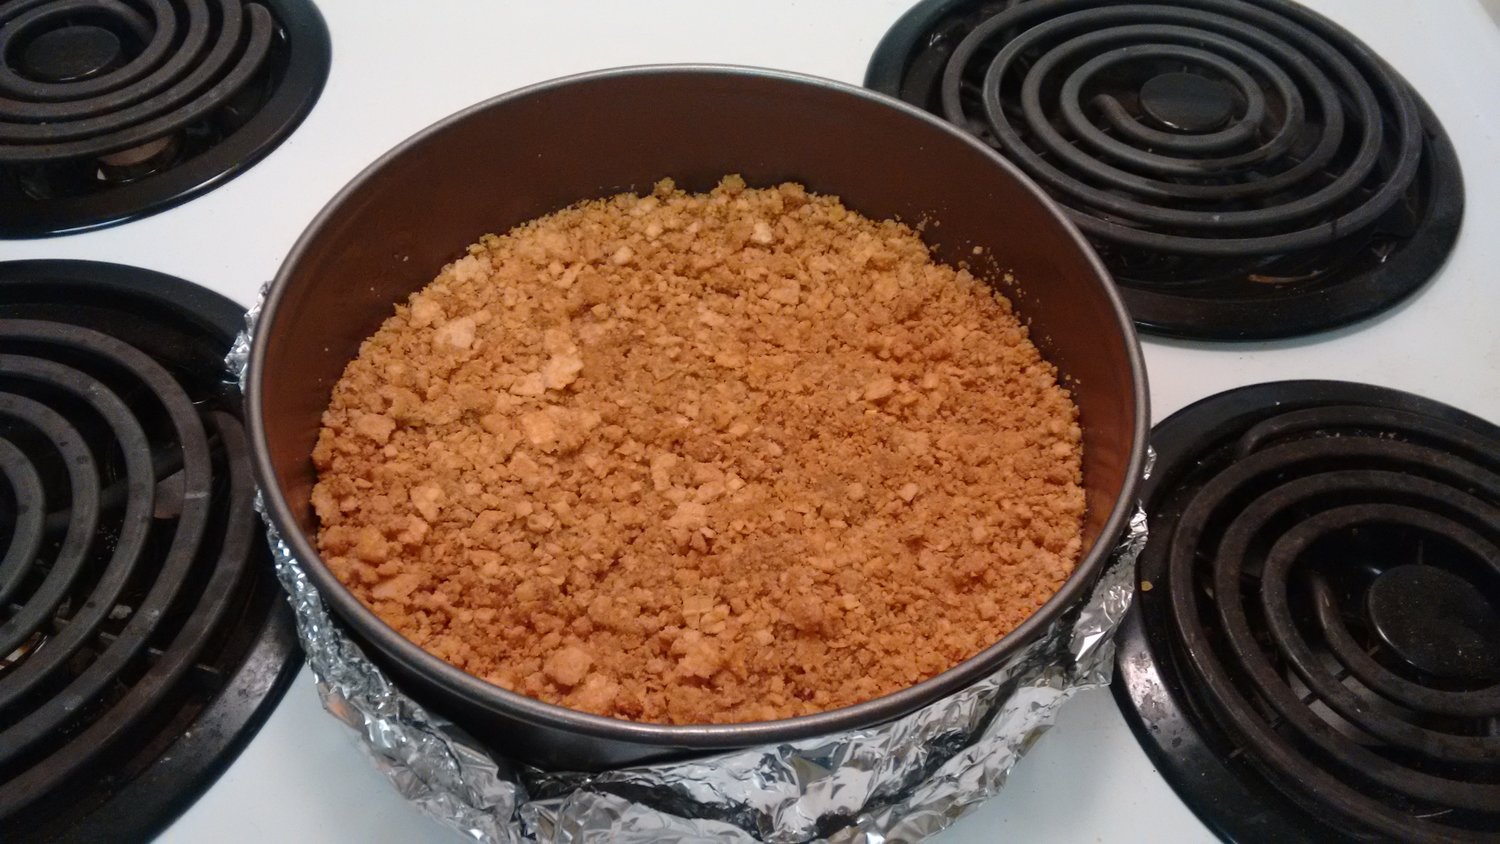
The mixture was evenly layered on the greased bottom of a 9-inch spring form pan.
Cheesecake filling
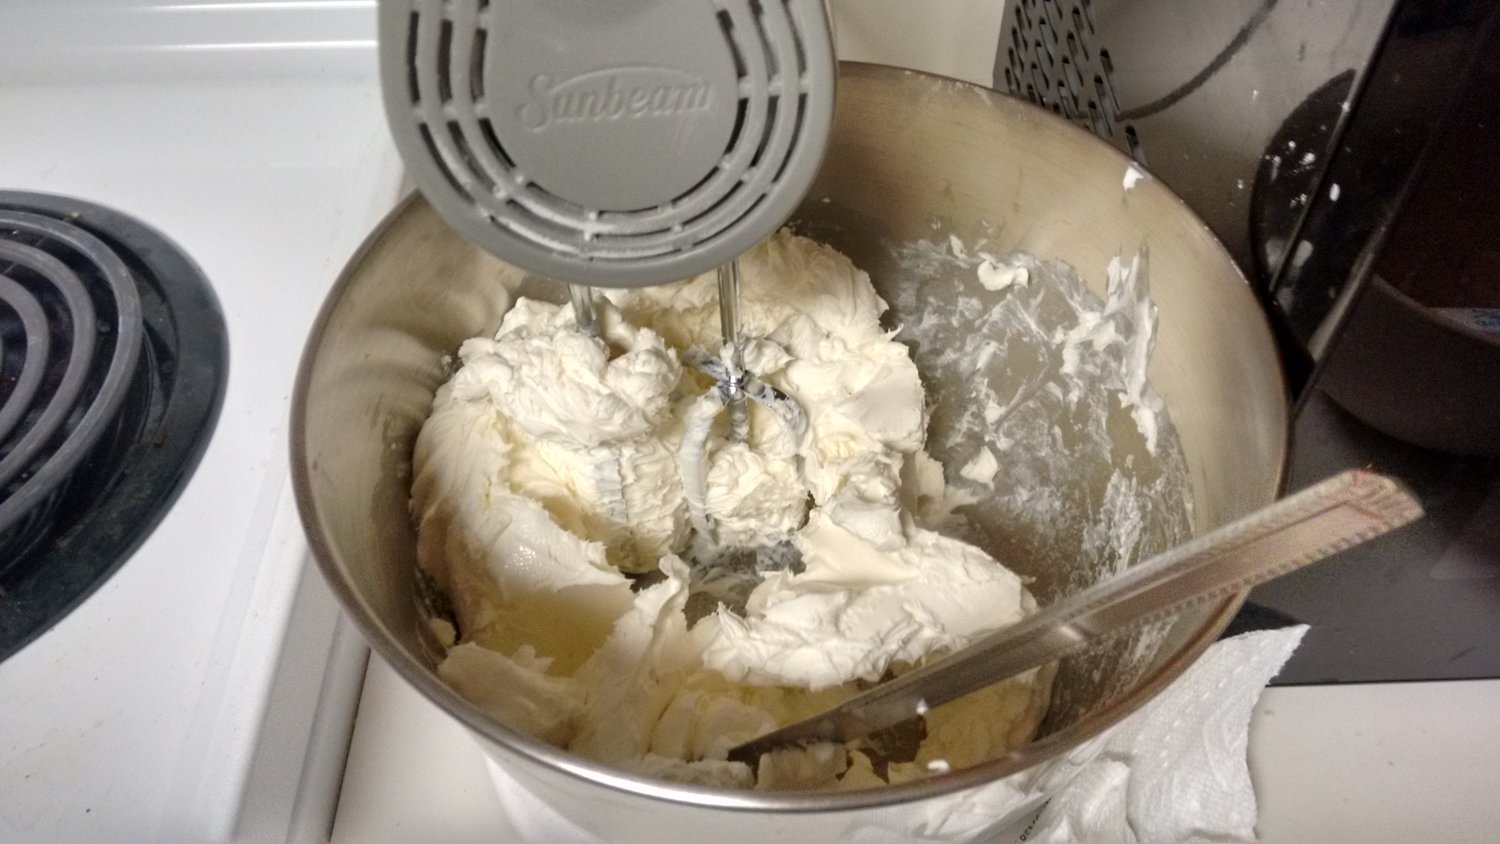
Cream cheese was beat using a stand mixer on the lowest speed setting.
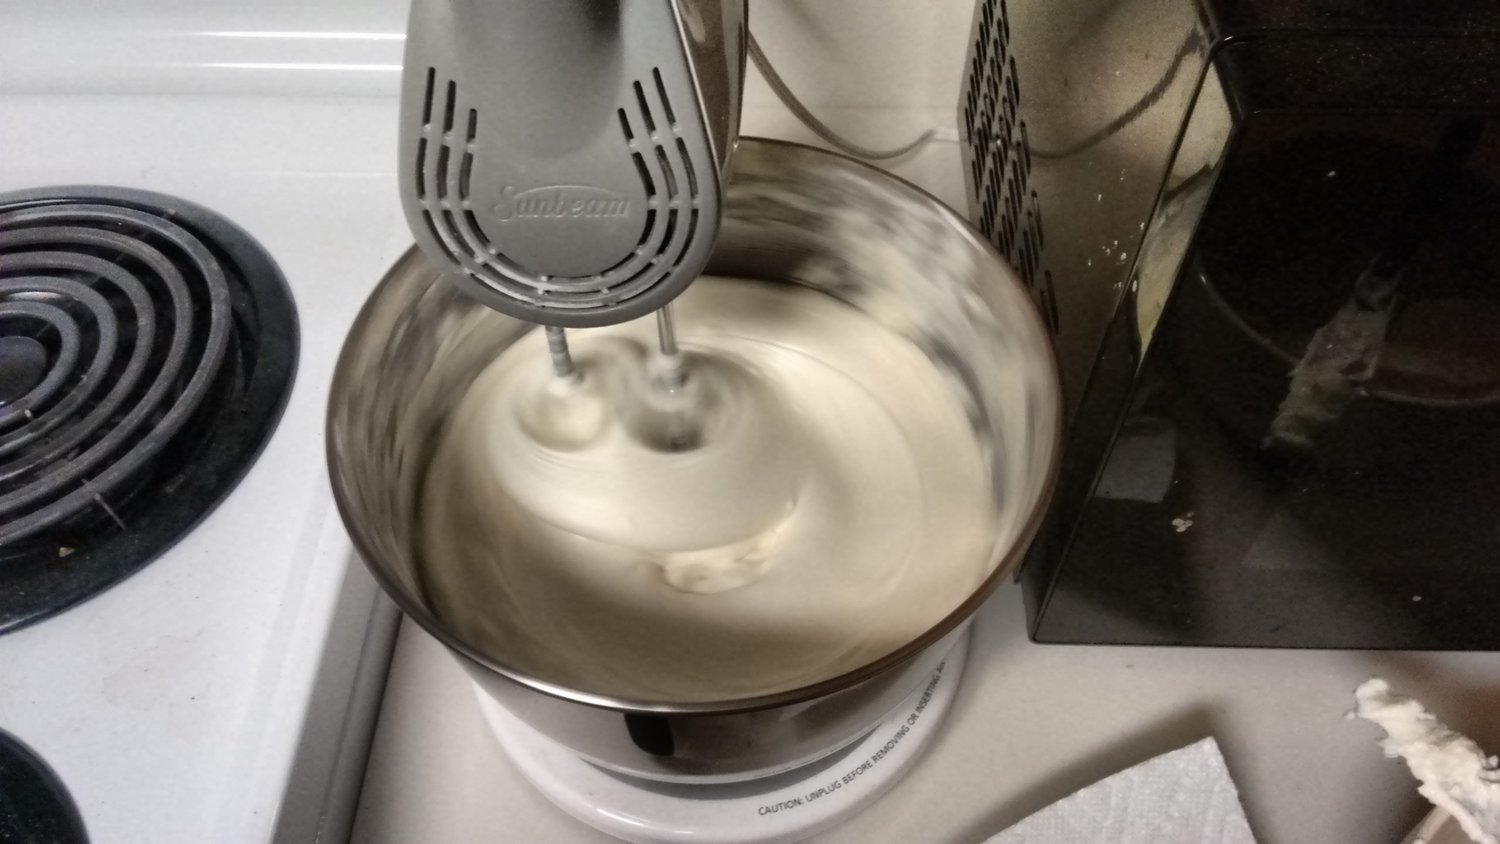
Sugar, eggs, sour cream, flour, vanilla and lemon juice were beat in in this order gradually until the mixture had a smooth texture.
Apple filling
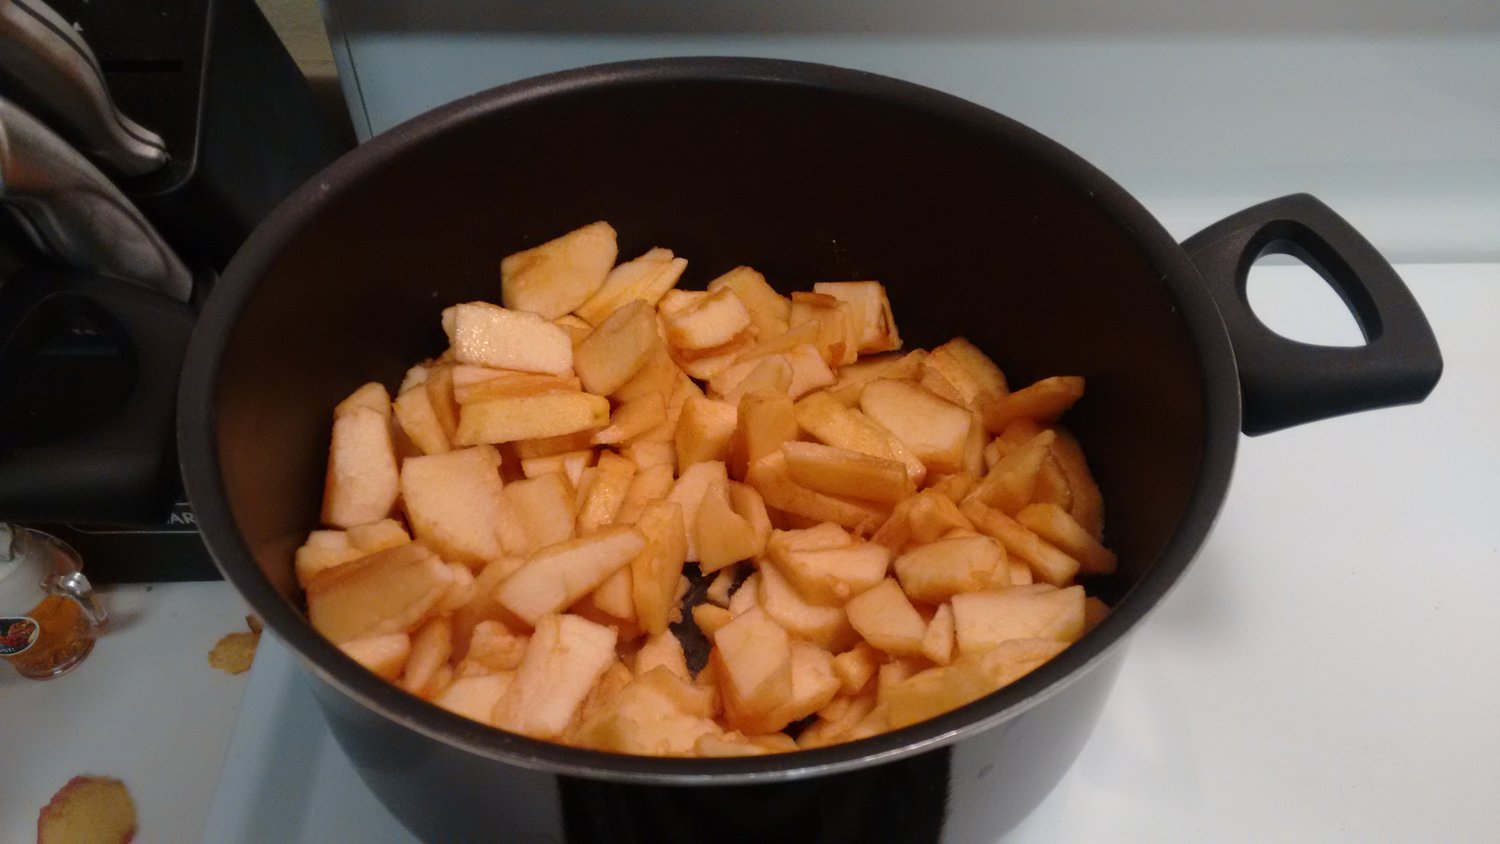
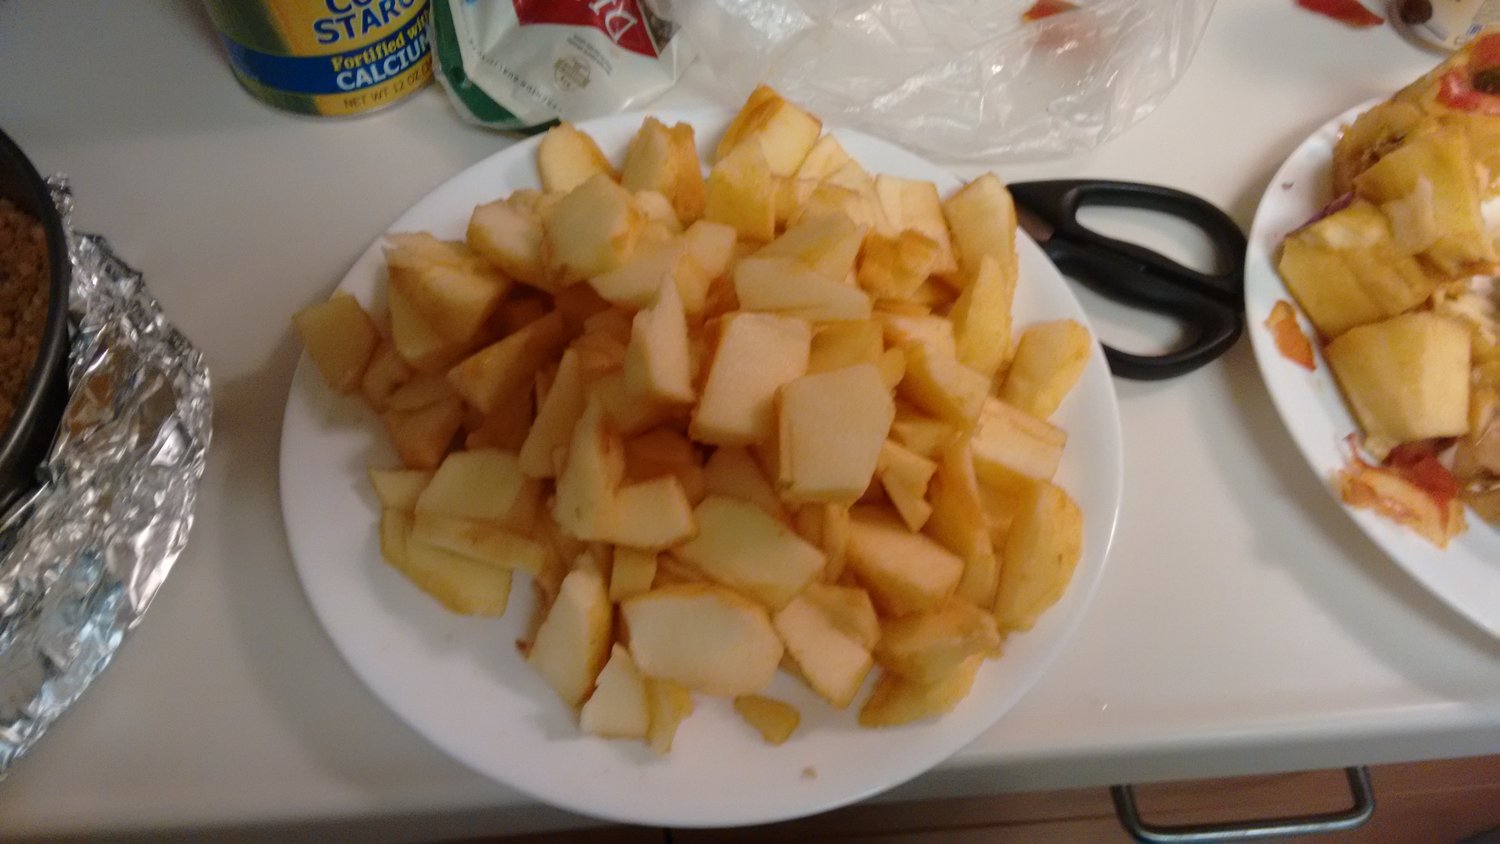
Apples were peeled, cored, and sliced into pieces of 1/4” thickness.
Butter was melted in a large sauce pan over medium heat. Apples were added and stirred frequently. After ~6 minutes, the apple slices were almost tender, and the saucepan was covered for an additional 5 minutes.
Water was added to the cornstarch, and the mixture was stirred well to obtain a heterogenous solution.
Once the apples were done cooking, the cornstarch water was added to the apple mixture, and the brown sugar and cinnamon were stirred in. Heat was increased and the mixture was boiled for 4 minutes.
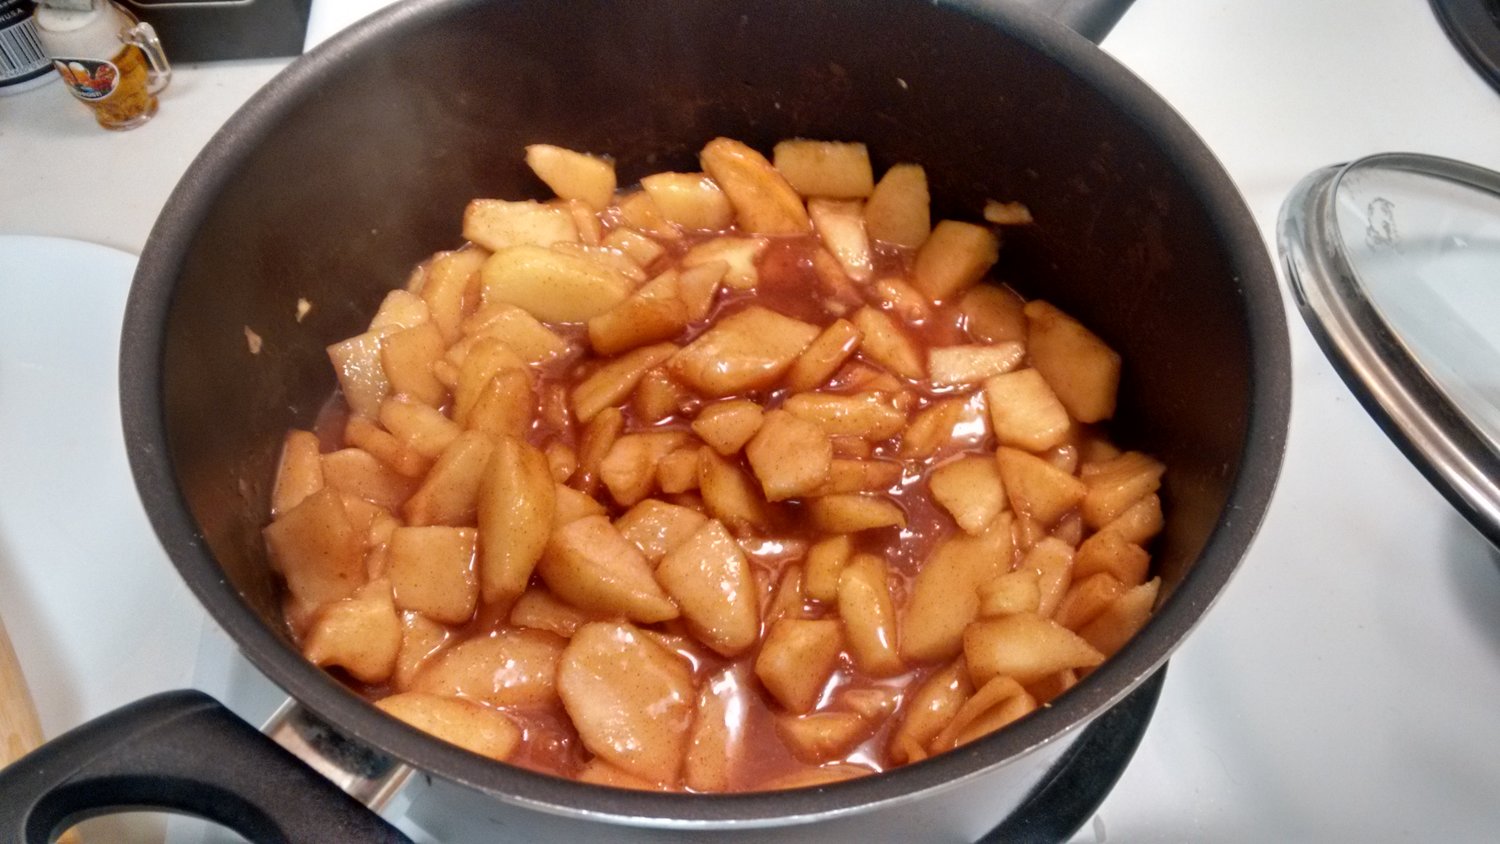
The apple filling mixture was allowed to cool to room temperature before incorporation into the cheesecake.
Streusel topping
Flour, brown sugar and cinnamon were mixed.
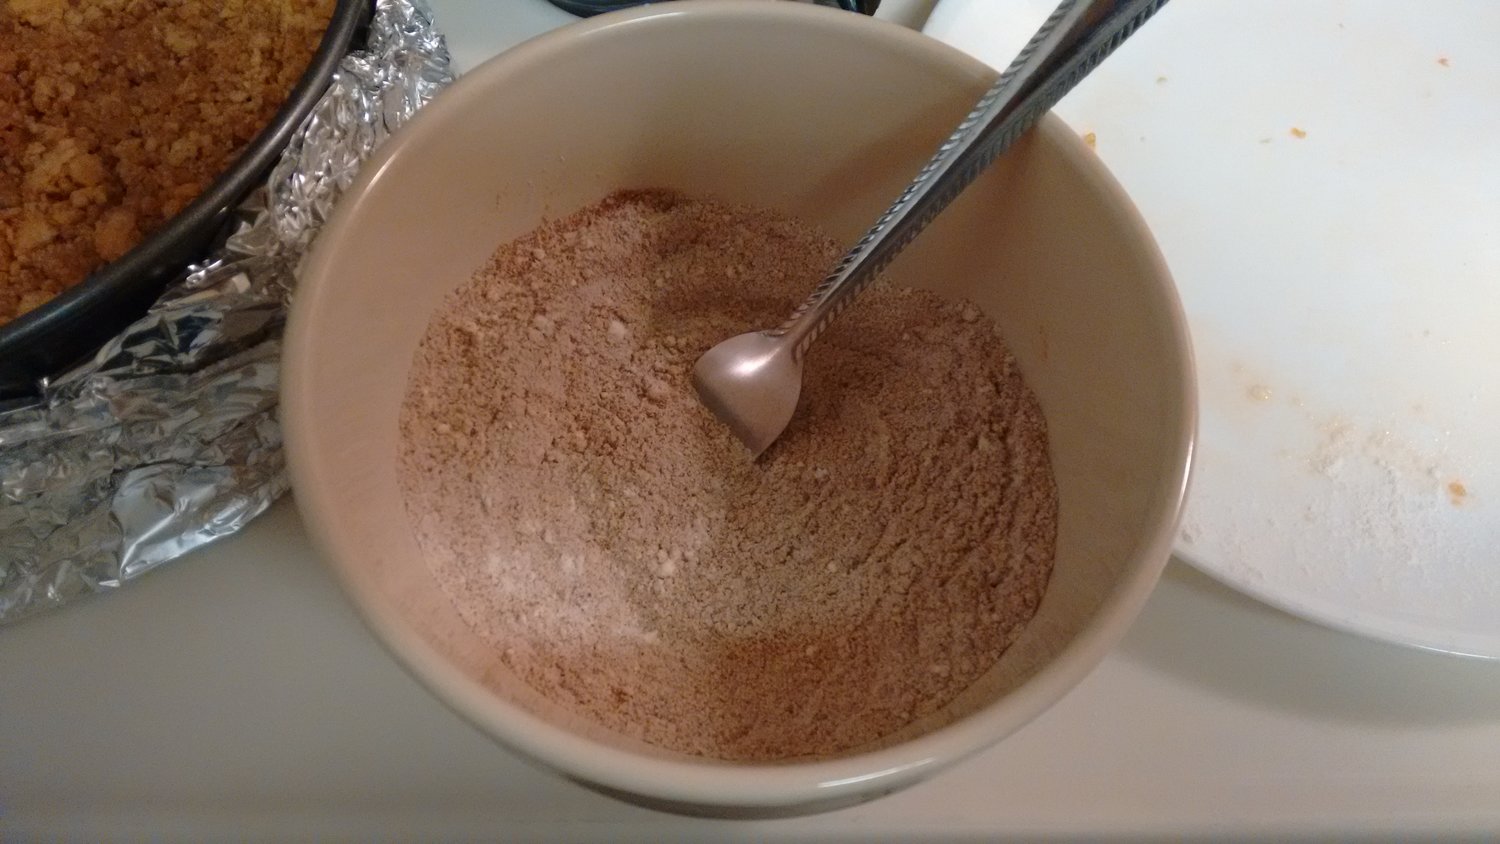
Butter was melted and added to the dry mixture, which was then mixed well.
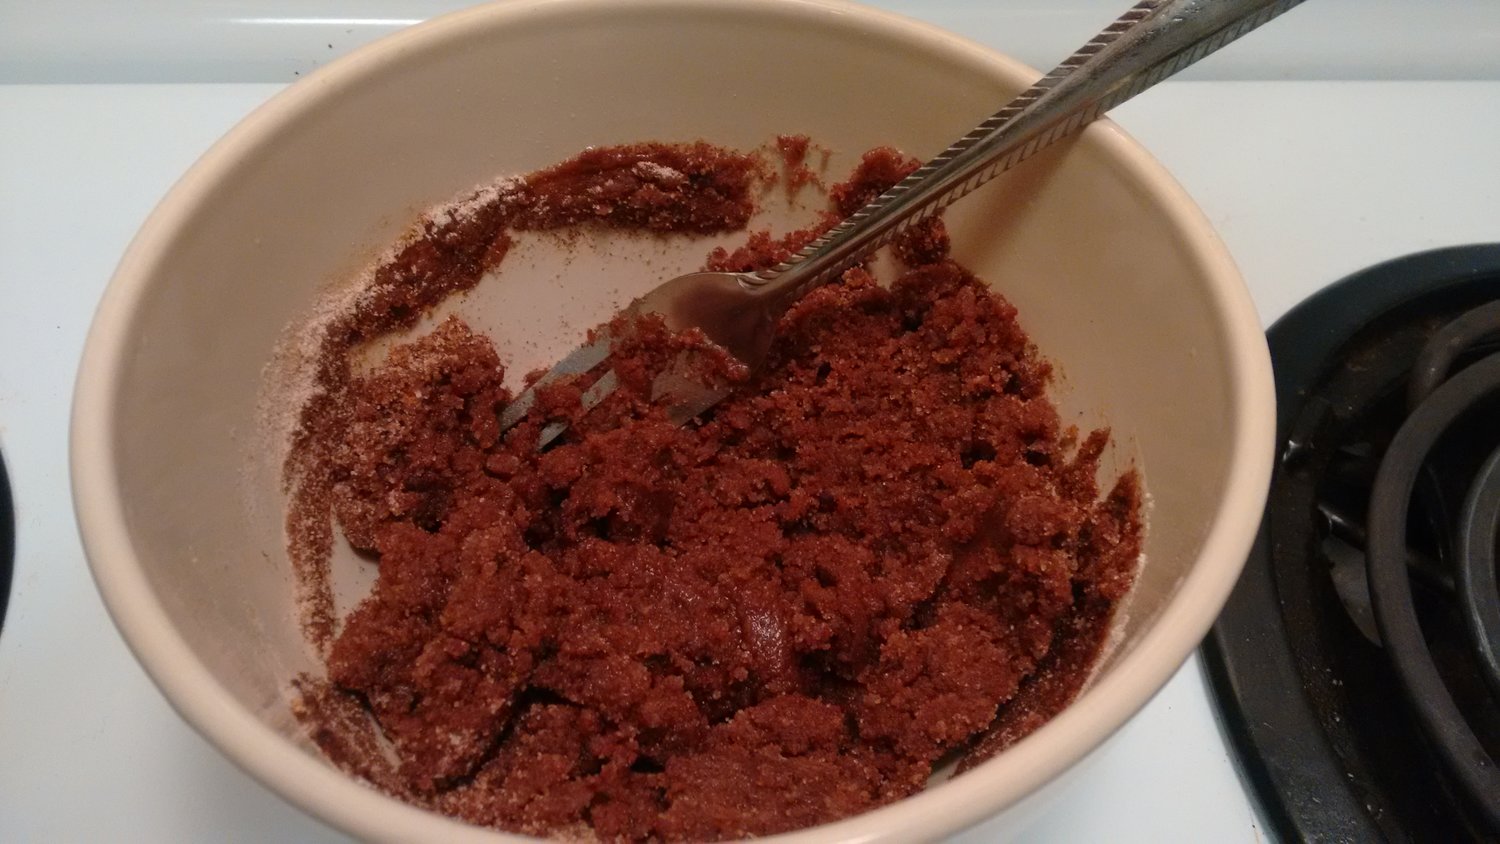
Walnuts were stirred in.
Caramel sauce
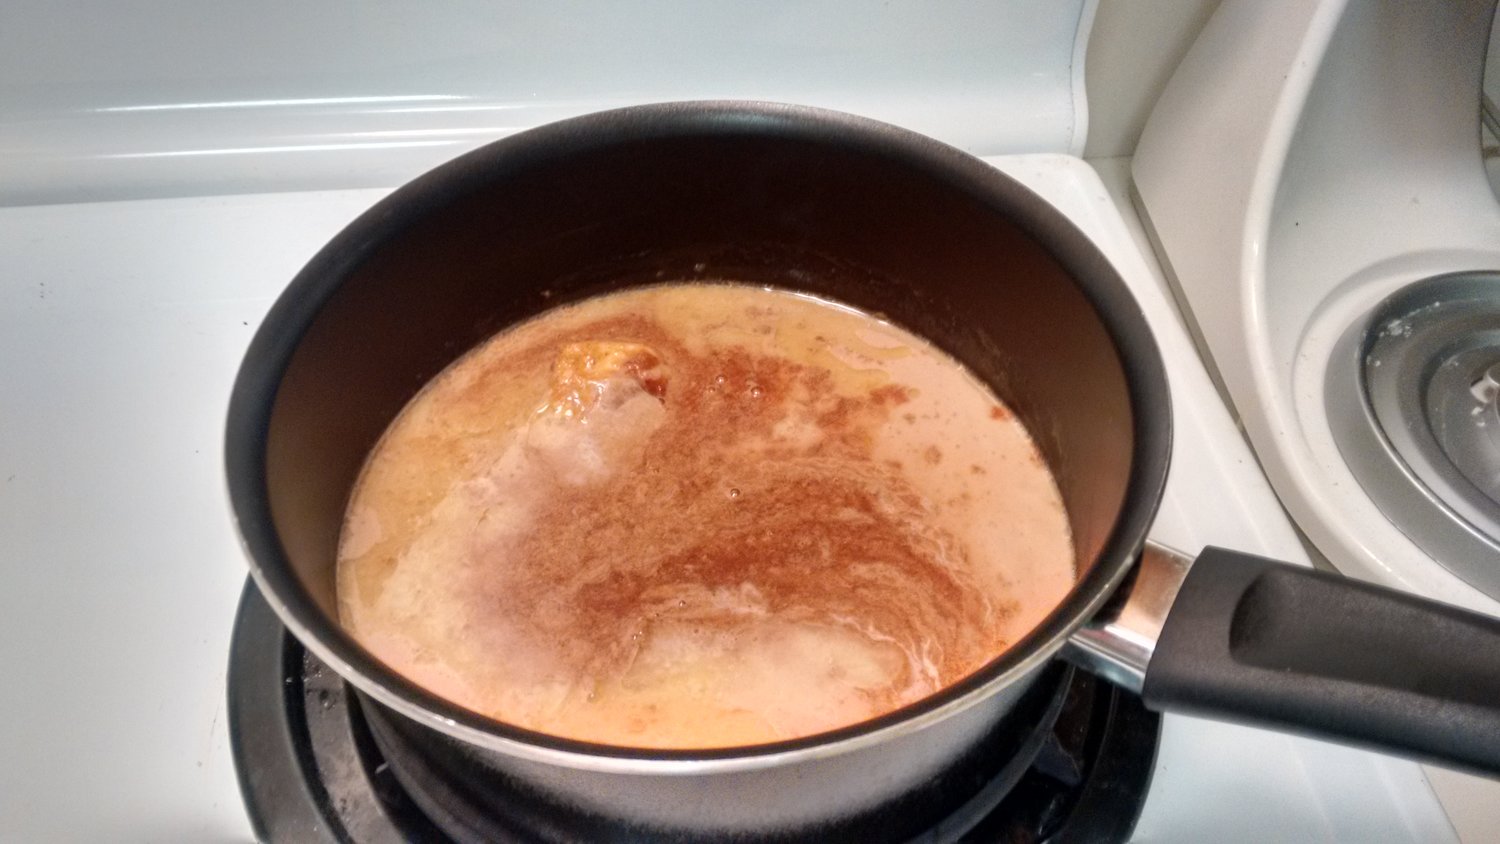
Butter, brown sugar, milk, vanilla, and salt were added to a medium saucepan and cooked at medium heat for 10 minutes.
The mixture was allowed to cool to room temperature, and was chilled in the fridge overnight.
Assembly and baking
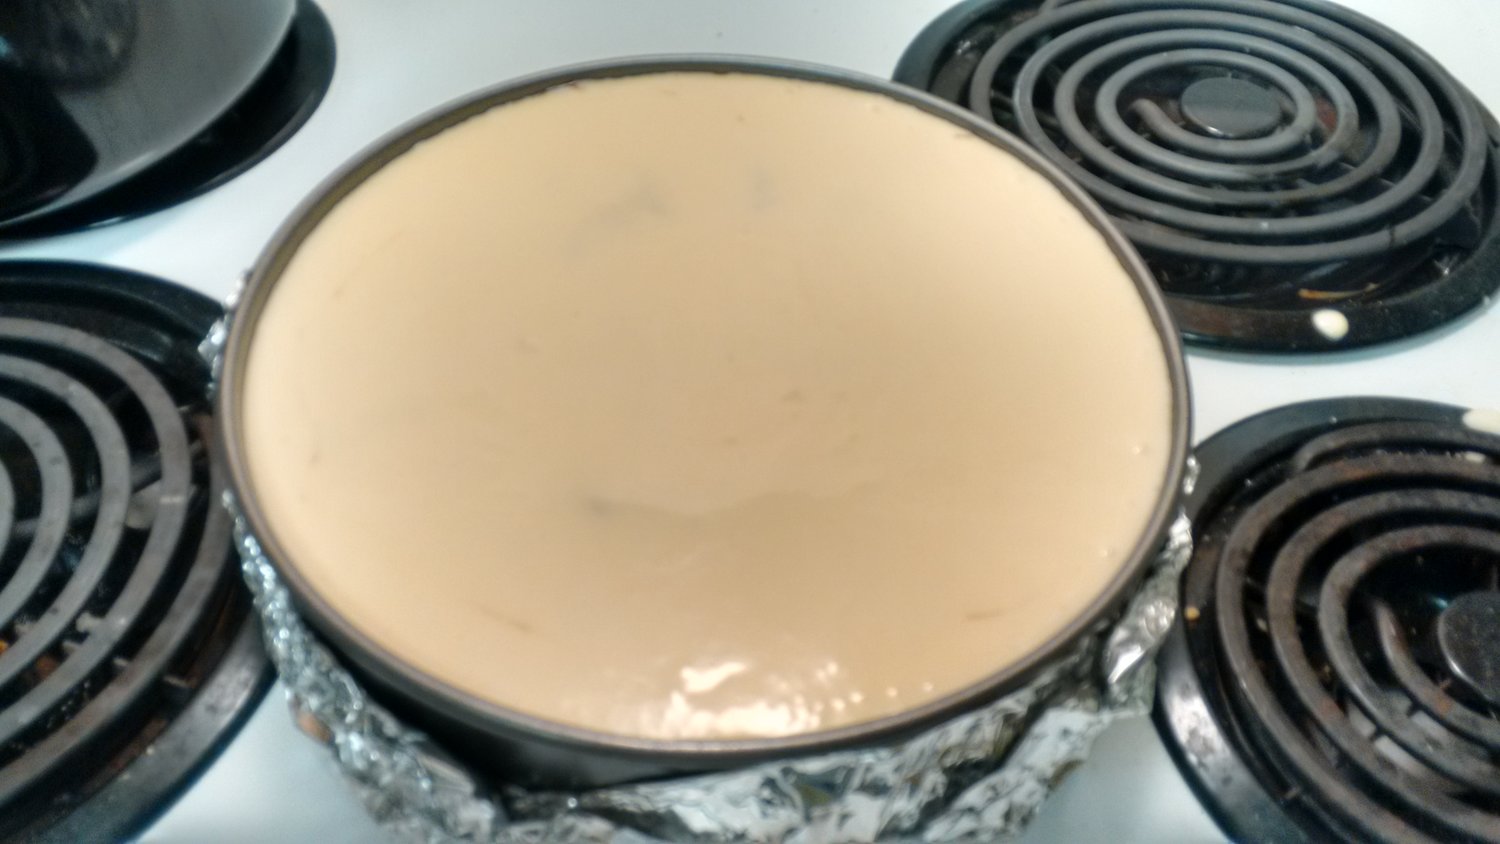
After the crust was layered, half of the cheesecake filling was poured into the pan. The apple filling was added in the middle of the cheesecake filling, and the rest of the cheesecake filling was poured in, covering the apple filling.
The Streusel topping was added.
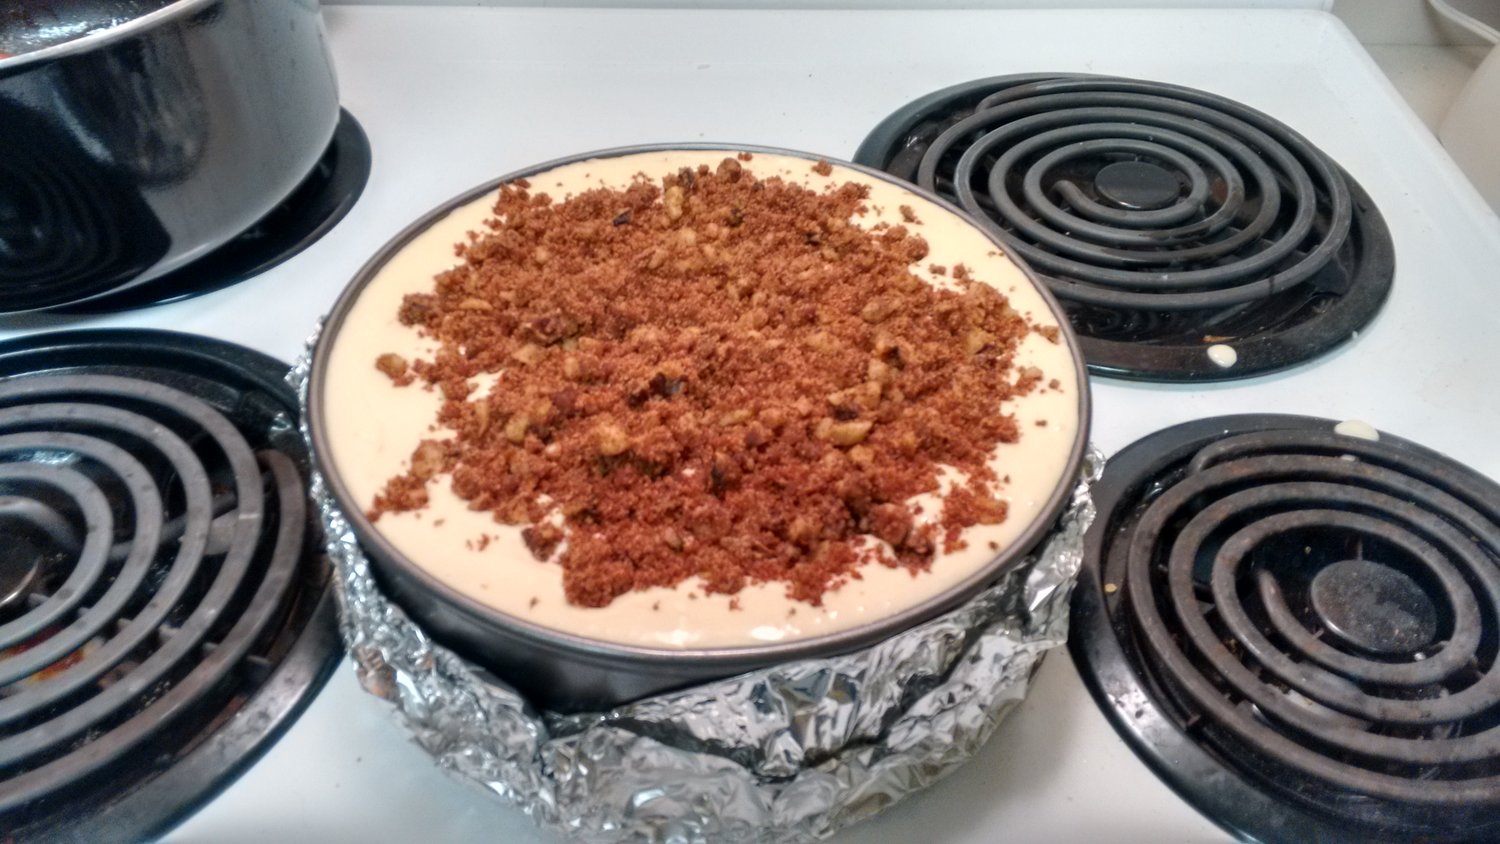
The spring form pan was placed in the water bath in the oven and the cake was cooked for 10 minutes. Heat was then reduced from 425F to 350F, and the cake was baked for an additional 60 minutes.
The cake was taken out of the oven and allowed to cool for 45 minutes, and was then covered and chilled in the fridge for 5 hours.
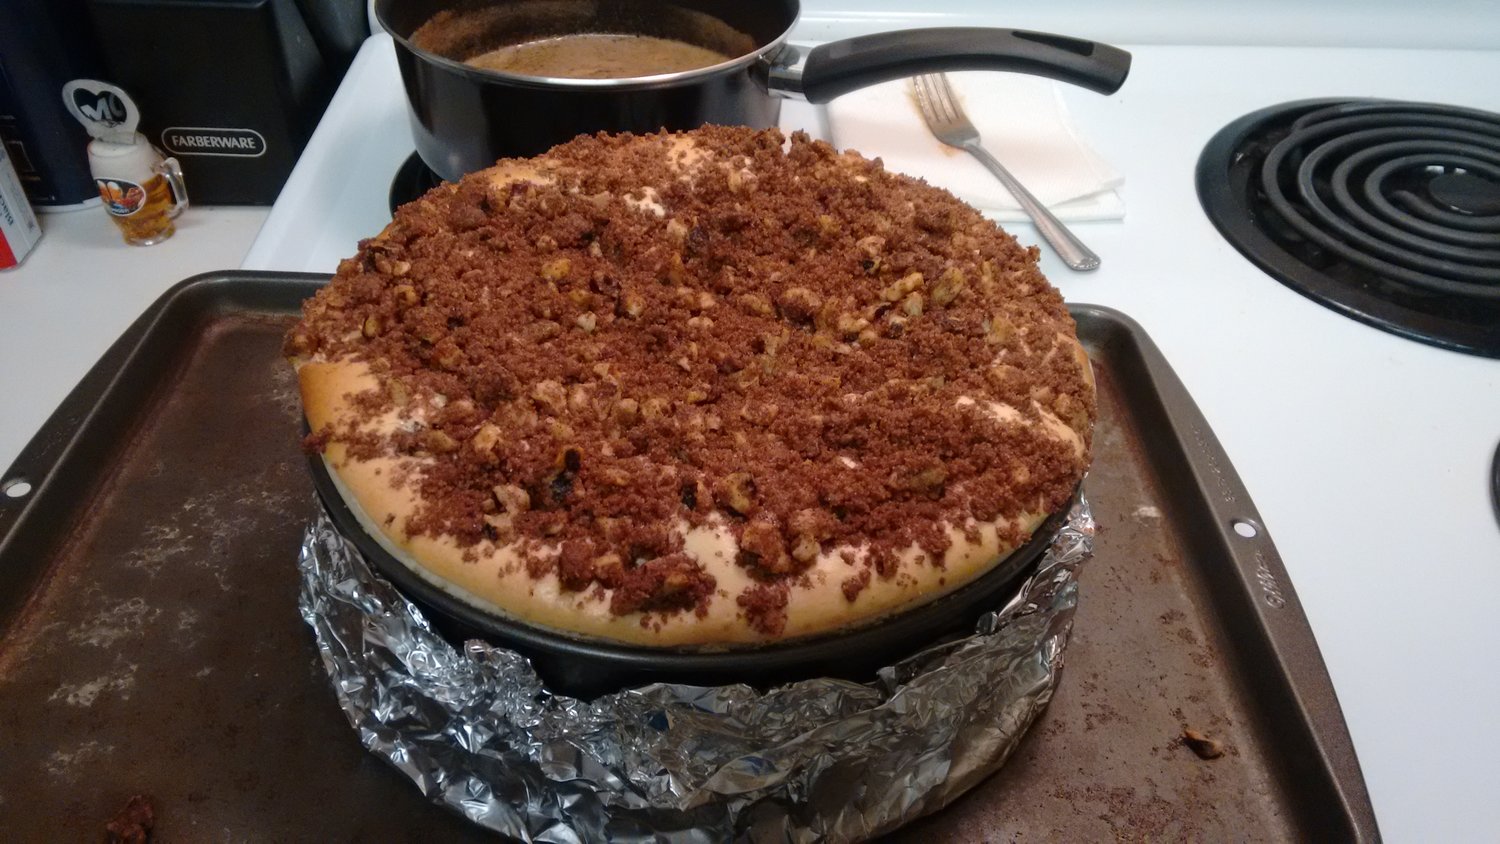
Pre-chill:
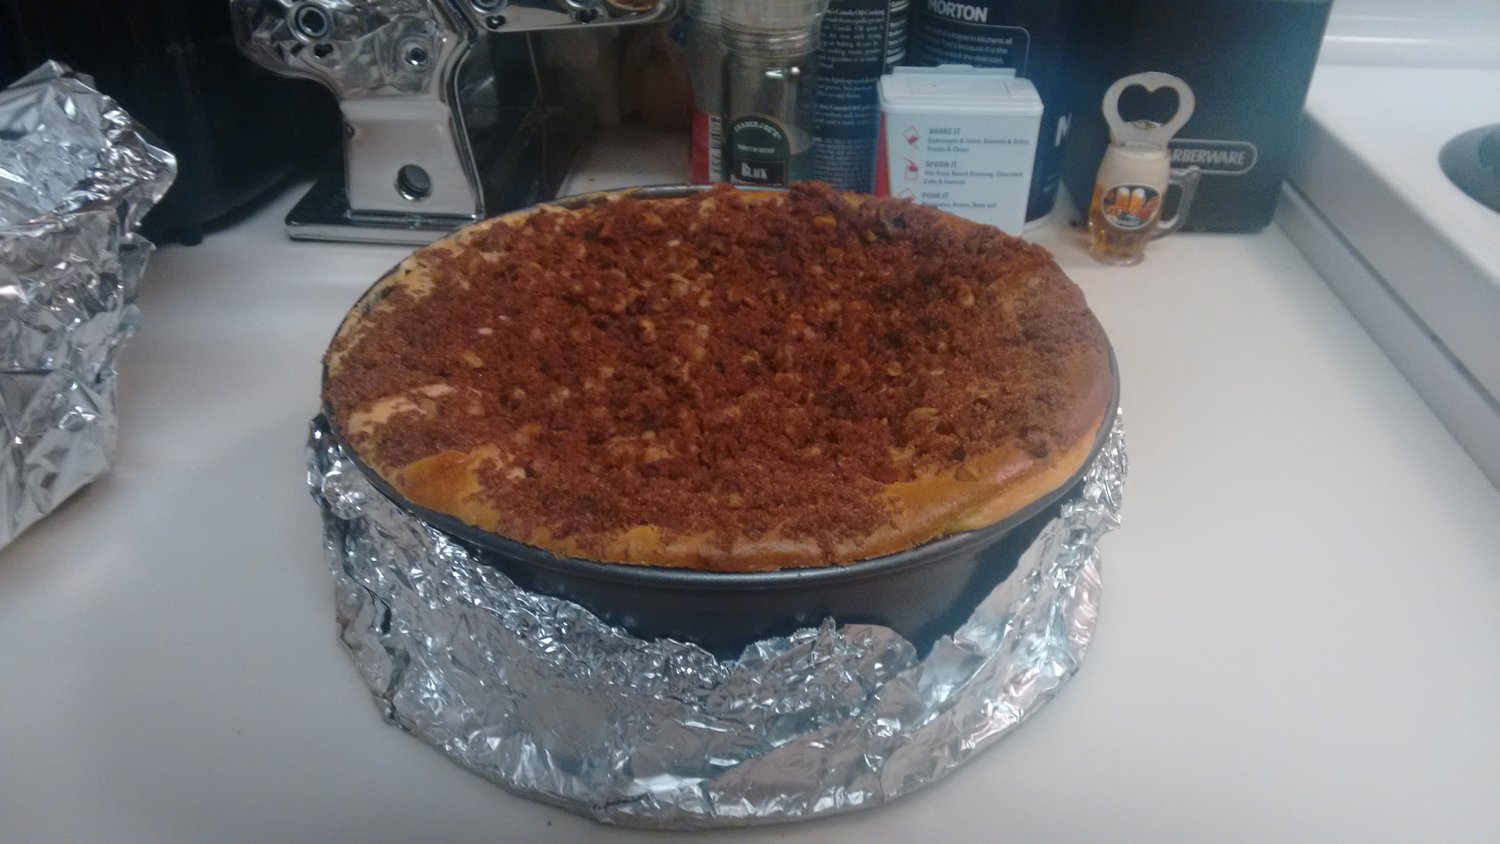
Post-chill:
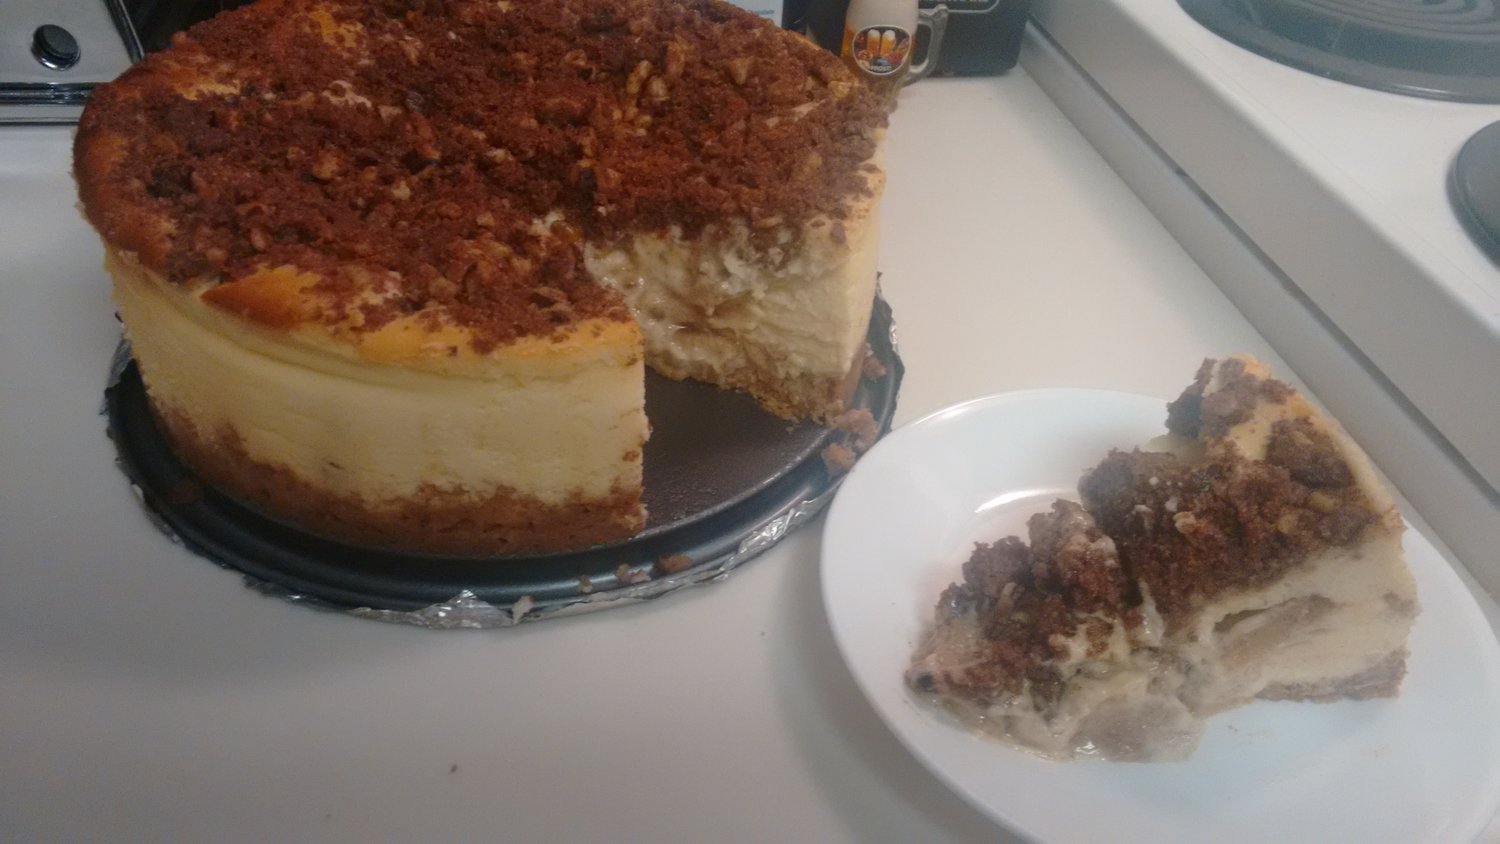
Once completely chilled, the cheesecake was removed from the spring form pan and served with caramel sauce (optional).
Discussion
This is definitely one of the most fun recipes I have gotten to work with. It felt like just another day in the lab.
The journey began at the grocery store. Most people do not know this about me, but I avoid eating apples. In April 2010, three of my front teeth came loose in a rugby match, and I subsequently had root canal done on them; ever since then I had avoided biting into hard food such as apples. Therefore, I was a tad stumped when I was shopping at the apple section: there were so many options, and “large apples” were not terribly specific in the recipe.

Eventually I chose large Fuji apples (bottom right), and I did not regret my decision. They were large, juicy, and when sautéed with cinnamon produced a rich golden color.
This recipe calls for an unusual water bath in the oven at 425F. This was strange to me, since water boils at 212F so I would have to constantly replenish the water bath, which I did. In addition, I struggled to find a container that could hold a 9-inch spring form pan; eventually I had to settle with the extremely shallow cookie sheet. I am not sure if the water bath was in any way helpful at the end.
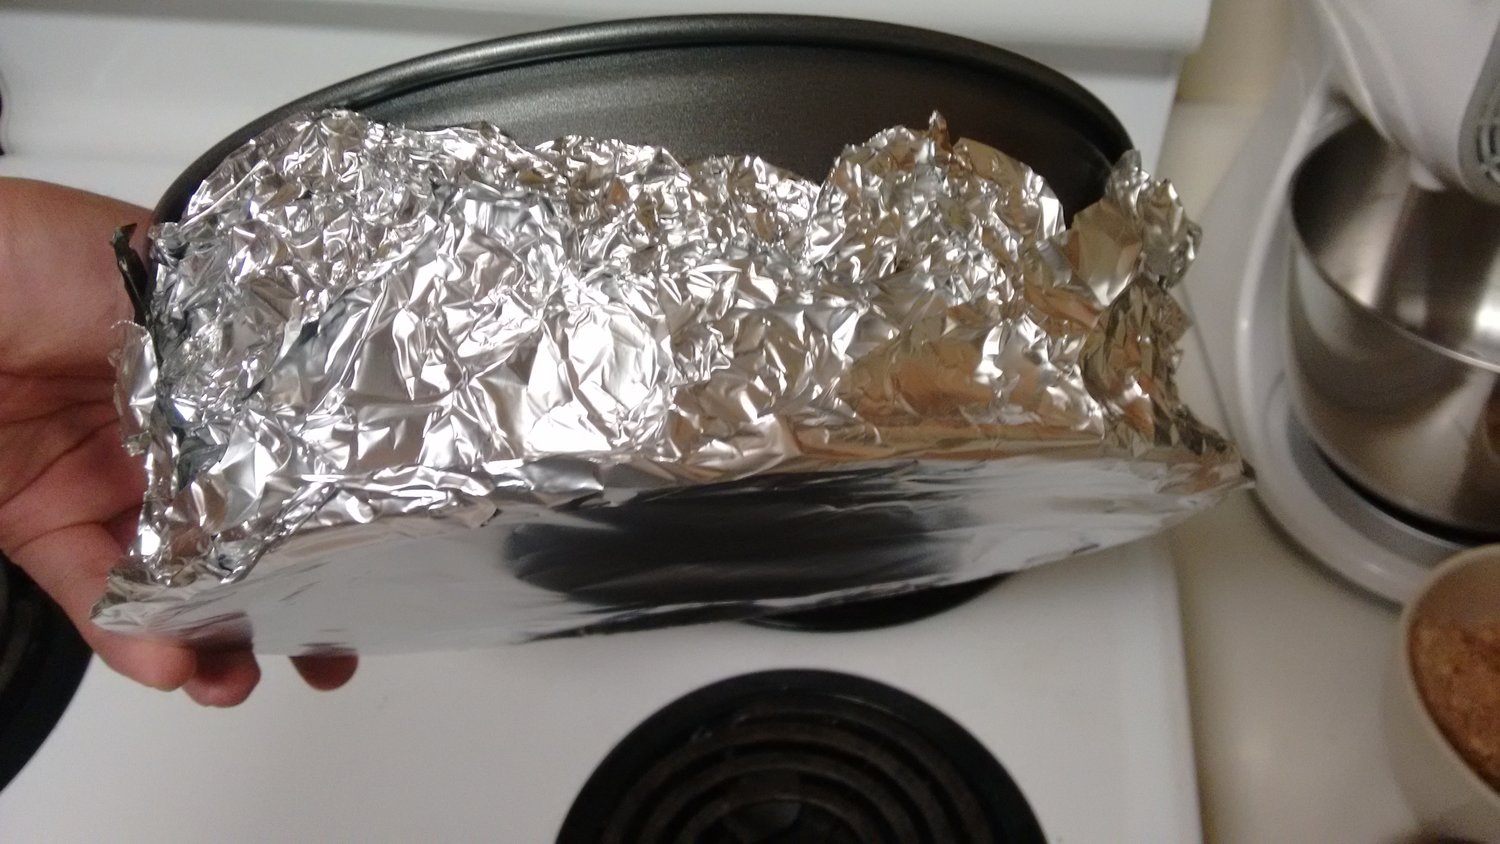
In addition, to prevent the cake mixture from leaking out into the water bath, and vice versa, I made sure to cover the spring form pan bottom with aluminum foil.
The reciple does not specify how to crush wafers and graham crackers into little crumbs. If you're struggling at work or school, just use your fist and much satisfaction could be achieved whilst shashing them into tiny pieces (Note to self: 1:1 acetone/acetonitrile was pretty good at recrystallization tertiary amines).
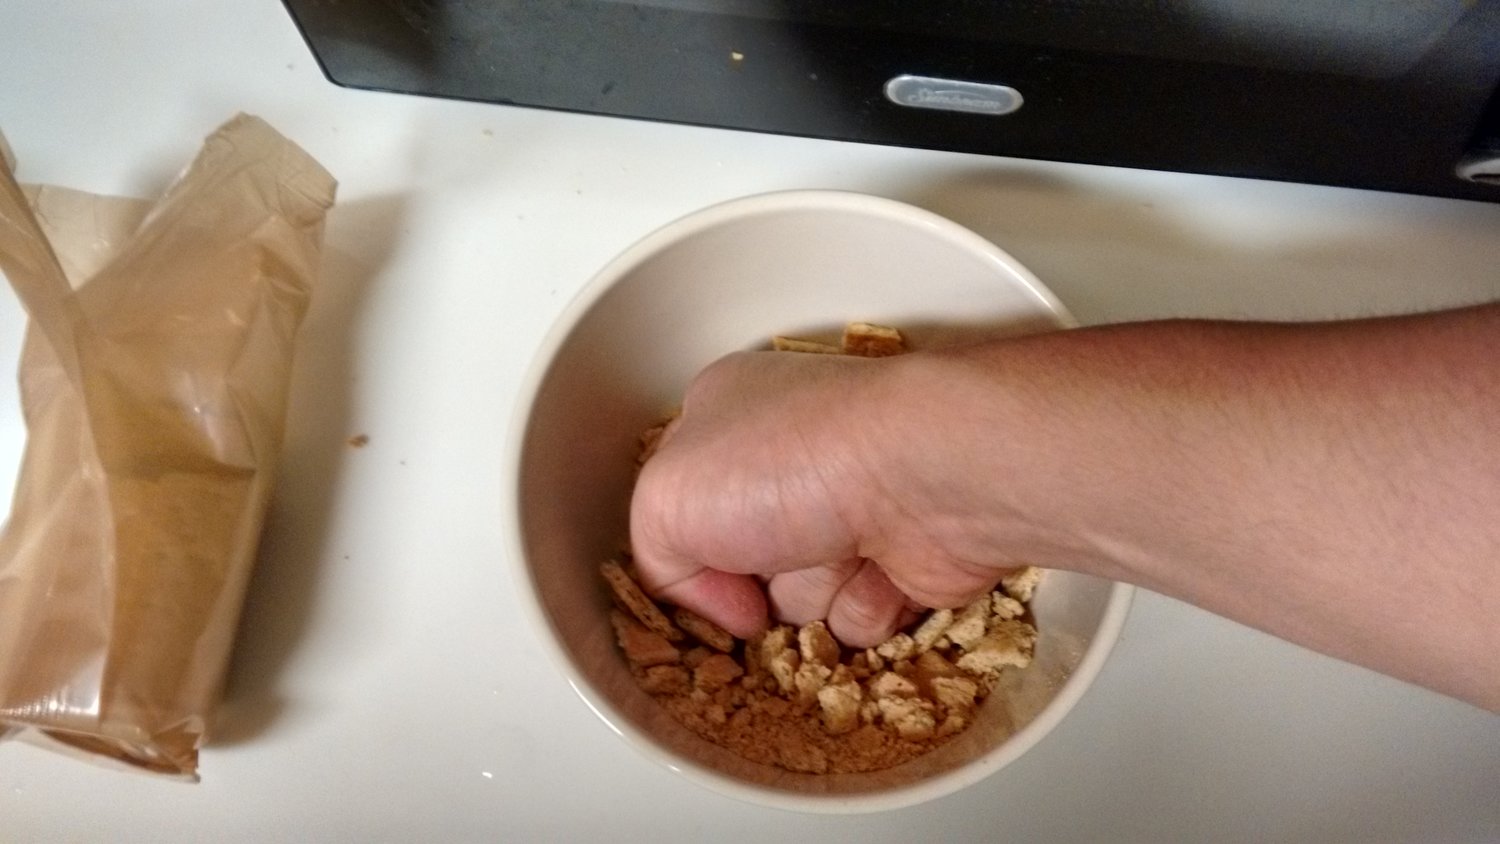
The recipe states to use the butter-crumb mixture to build the bottom crust and the side walls. I struggled to build the sides using the mixture in the spring form pan, since the crumbs collapsed too easily. Extra melted butter was added in an attempt to increase the stickiness and rigidness of the crumb mixture to no avail. Eventually, I settled on using all of the crumb mixture on the bottom crust, resulting in a relatively thick bottom crust.
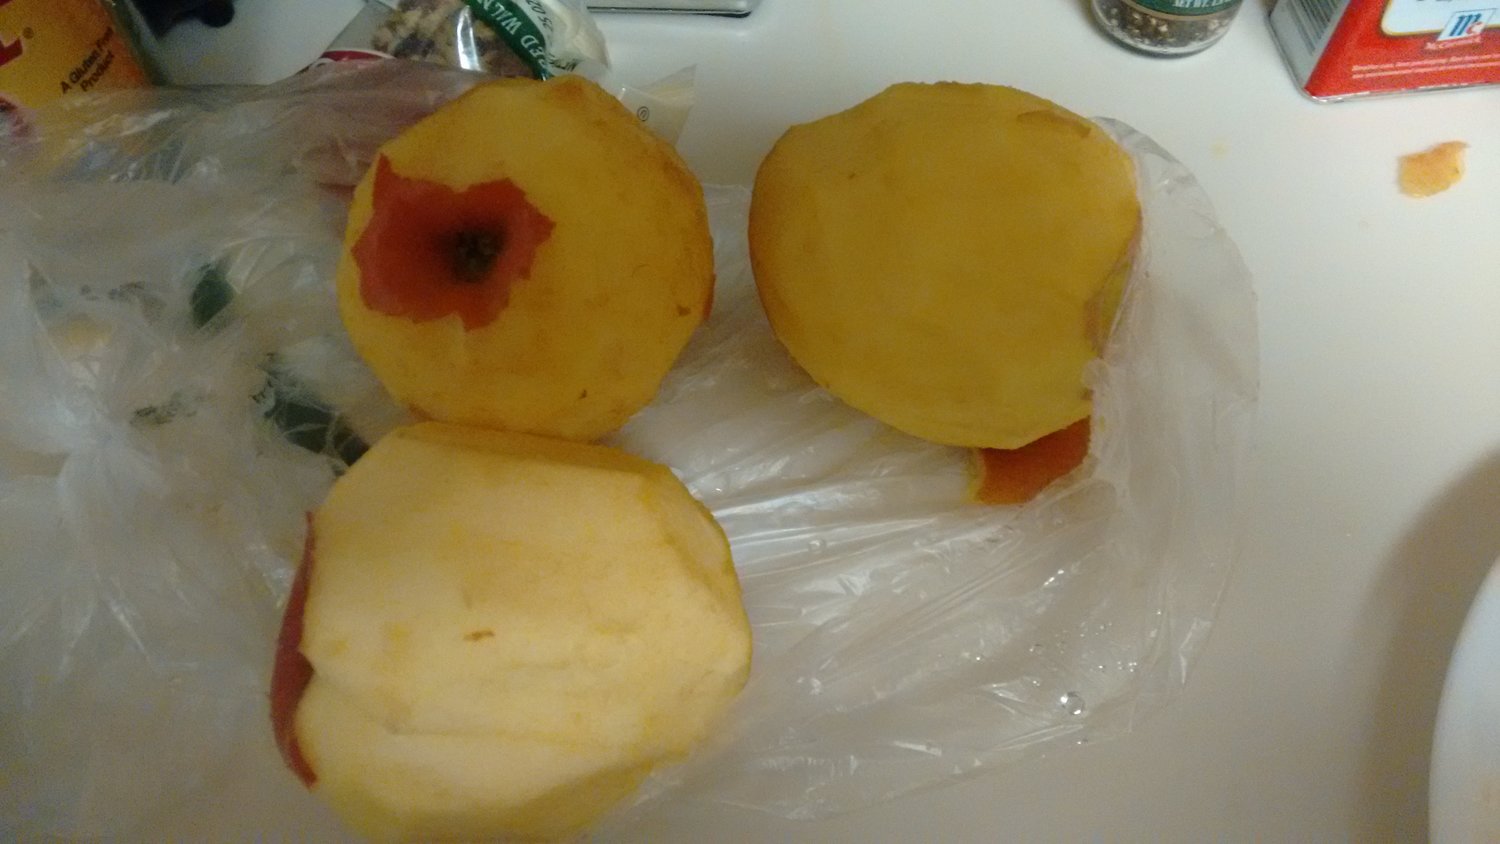
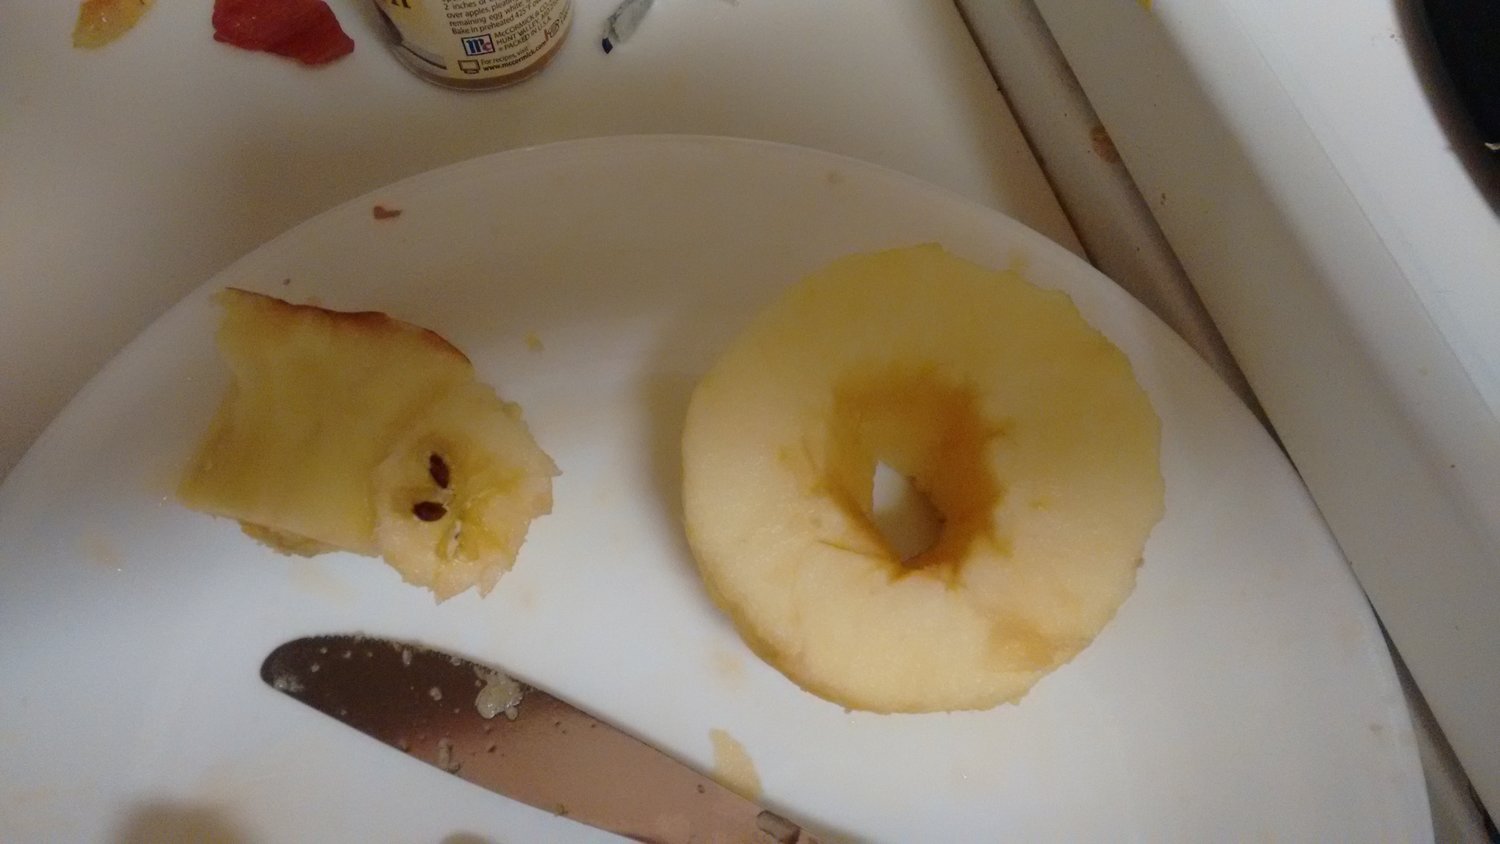
While on the subject of being an apple virgin, I had never peeled or cored an apple before, let alone making a dessert with it. I first cut the apple crosswise, and twist it to yield the two halves. I then cut the core at an angle, and popped out the core from the other side. I then cut the apple into 1/4" thick slices.
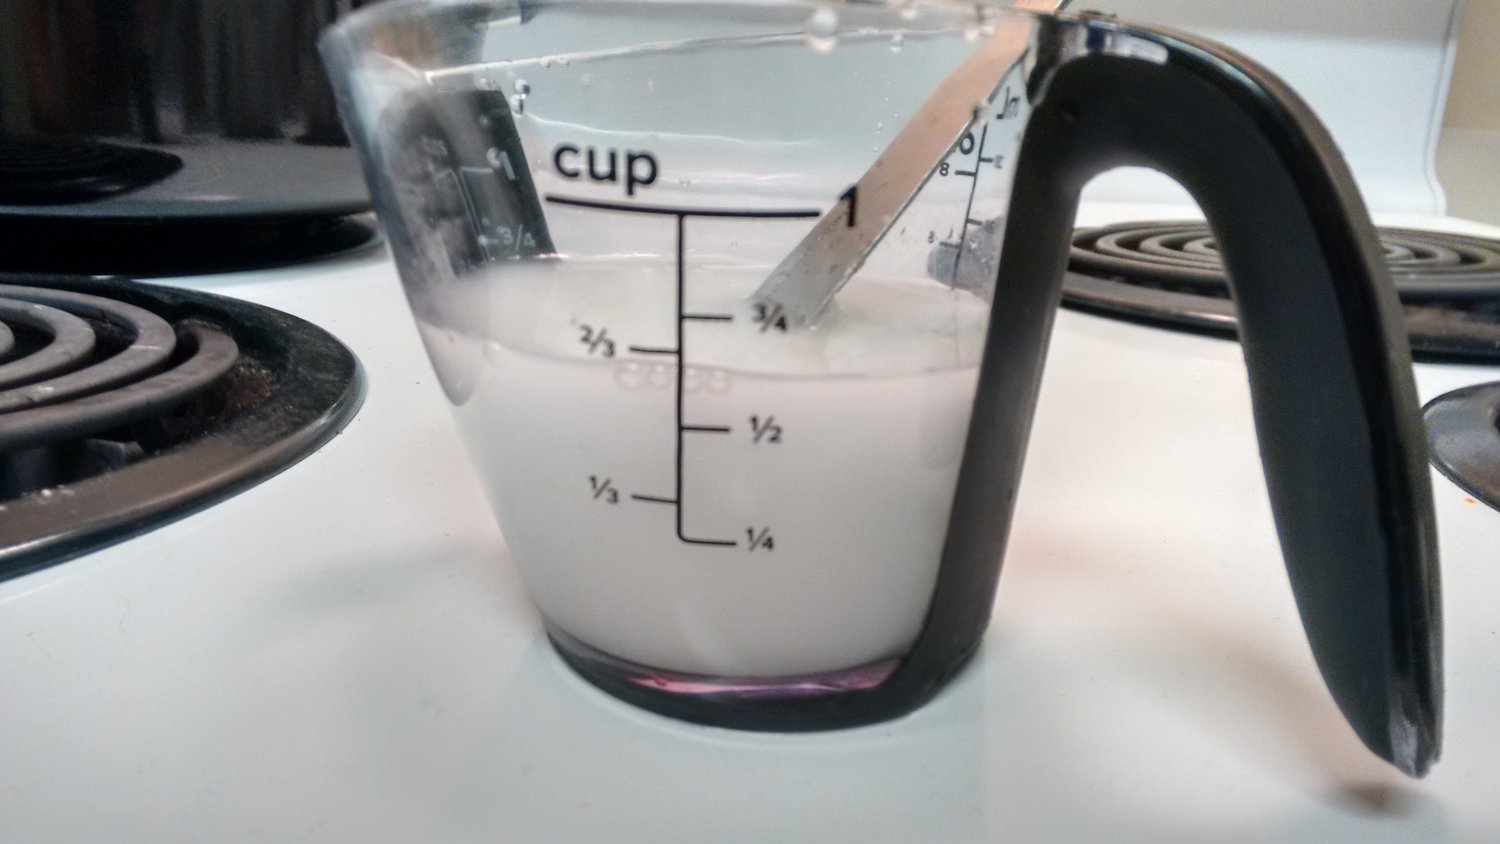
I want to quickly point out a certain terminology use in the recipe. The author called to dissolve the cornstarch in water. That would be incorrect, since cornstarch is insoluble in water and cannot be dissolved in it. The heterogenous mixture has an opaque white color.
4 large apples were too much in this recipe; I ended up eating a lot of the leftover caramelized apples as my dinner off the spatula. In fact, I think my cheesecake/apple fillings ratio was a little off: I wanted to taste more of the cheesecake. Scaling the recipe down to 3 apples should be sufficient.

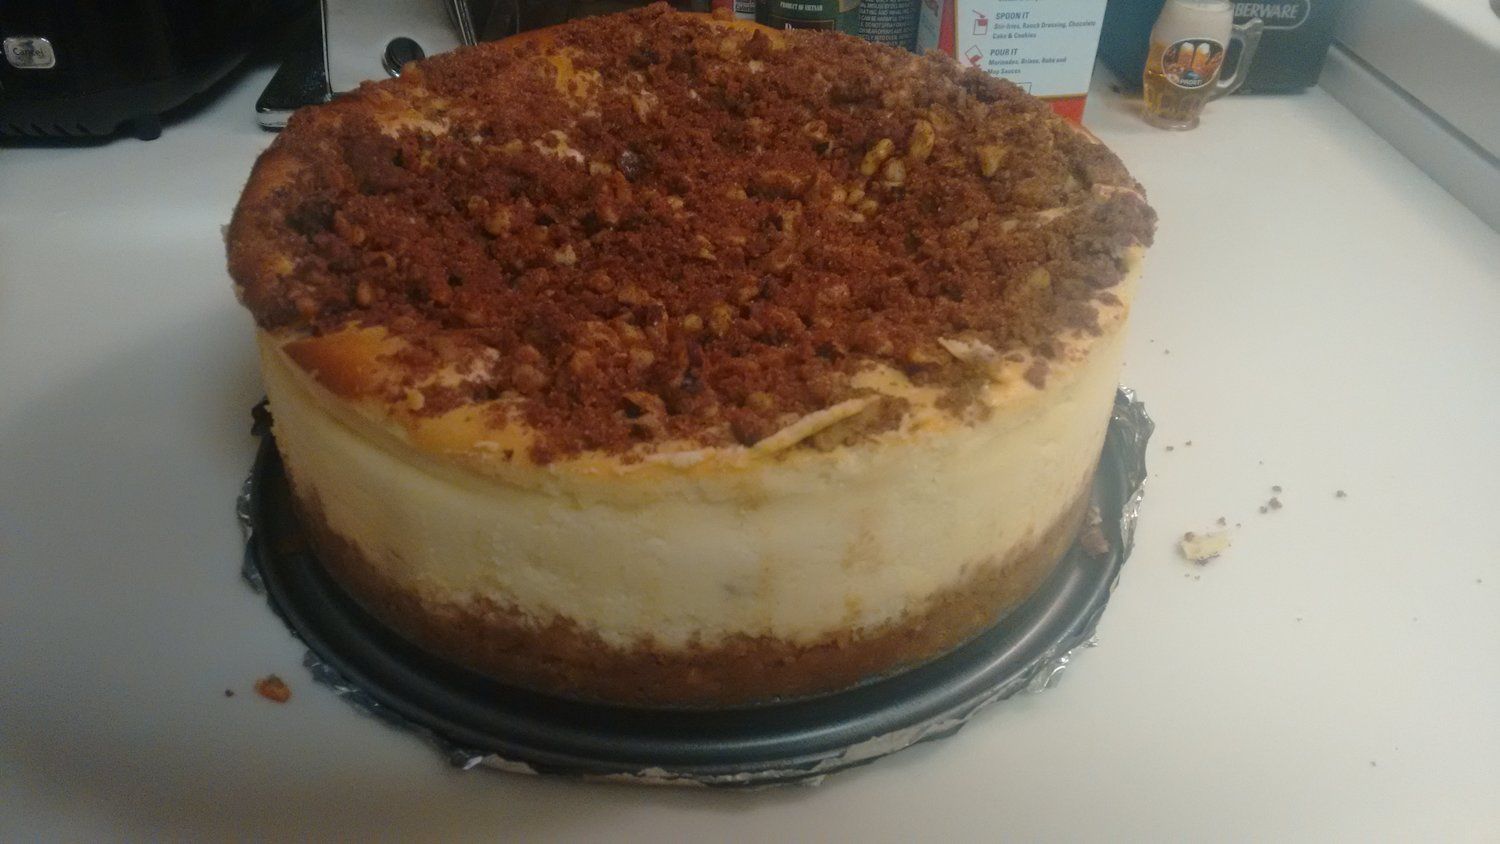
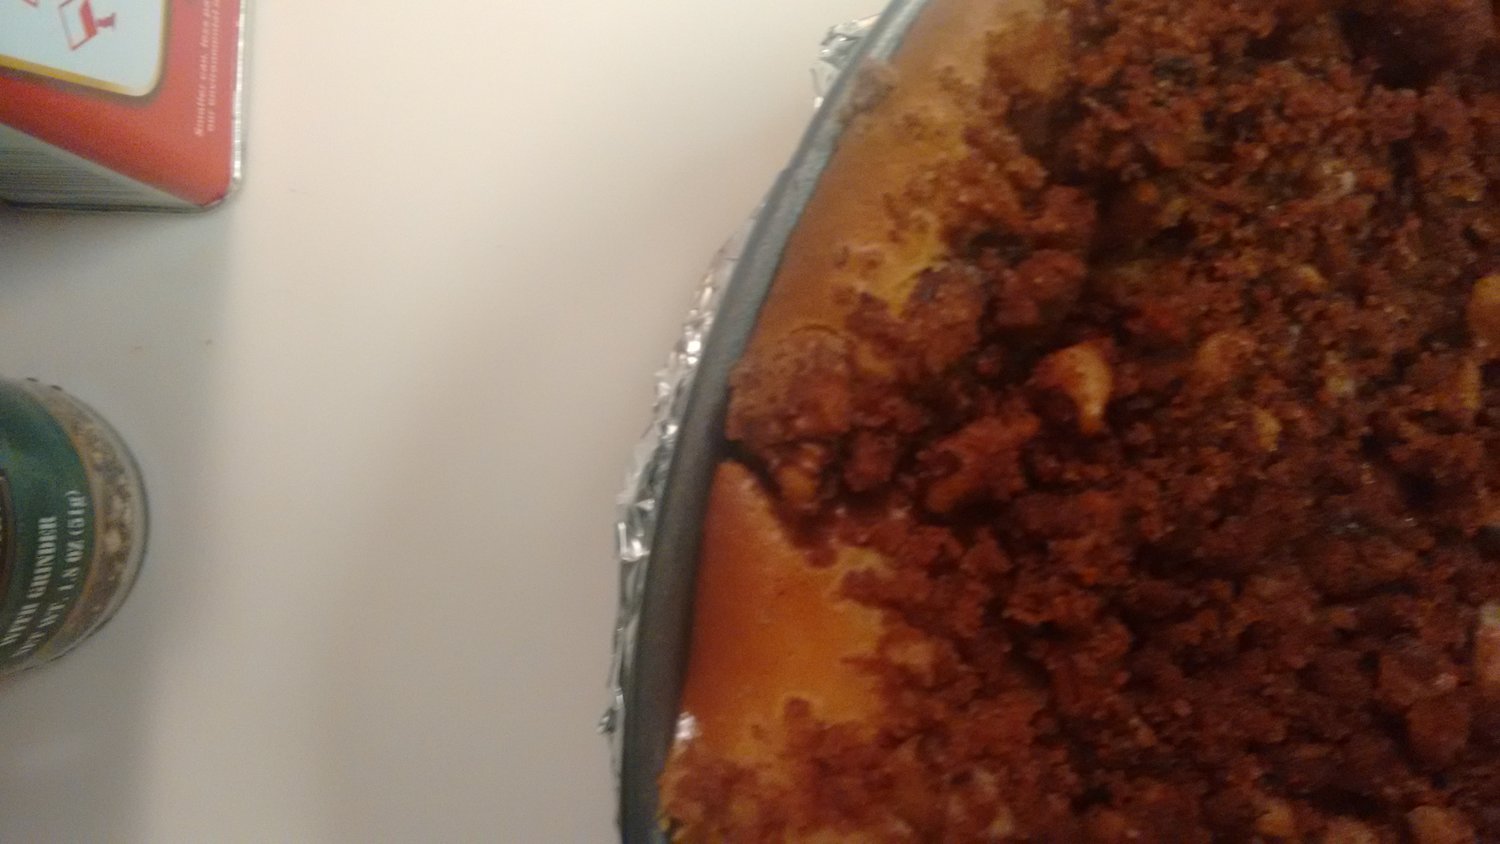
I believe the cheesecake was cooked for slightly too long. At the 50-min mark, the top already attained a rich golden brown color. However, at the 60 min mark, the cake filling raised even more, and due to the rapidly expanding volume, a corner of the cheesecake top was cracked.
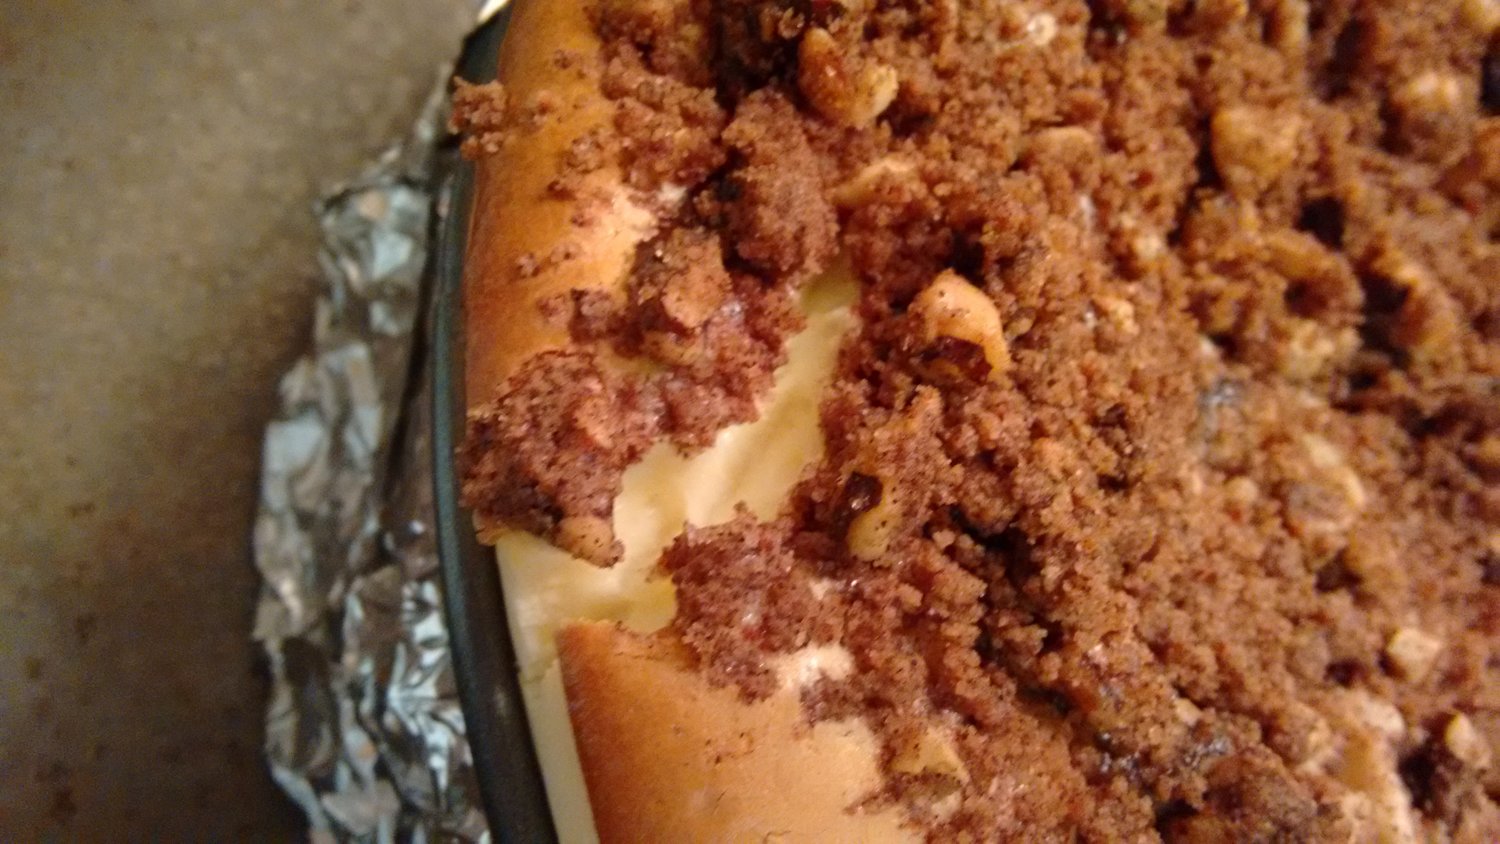
This problem was mitigated from shrinking during chilling in the fridge for 5 hours.
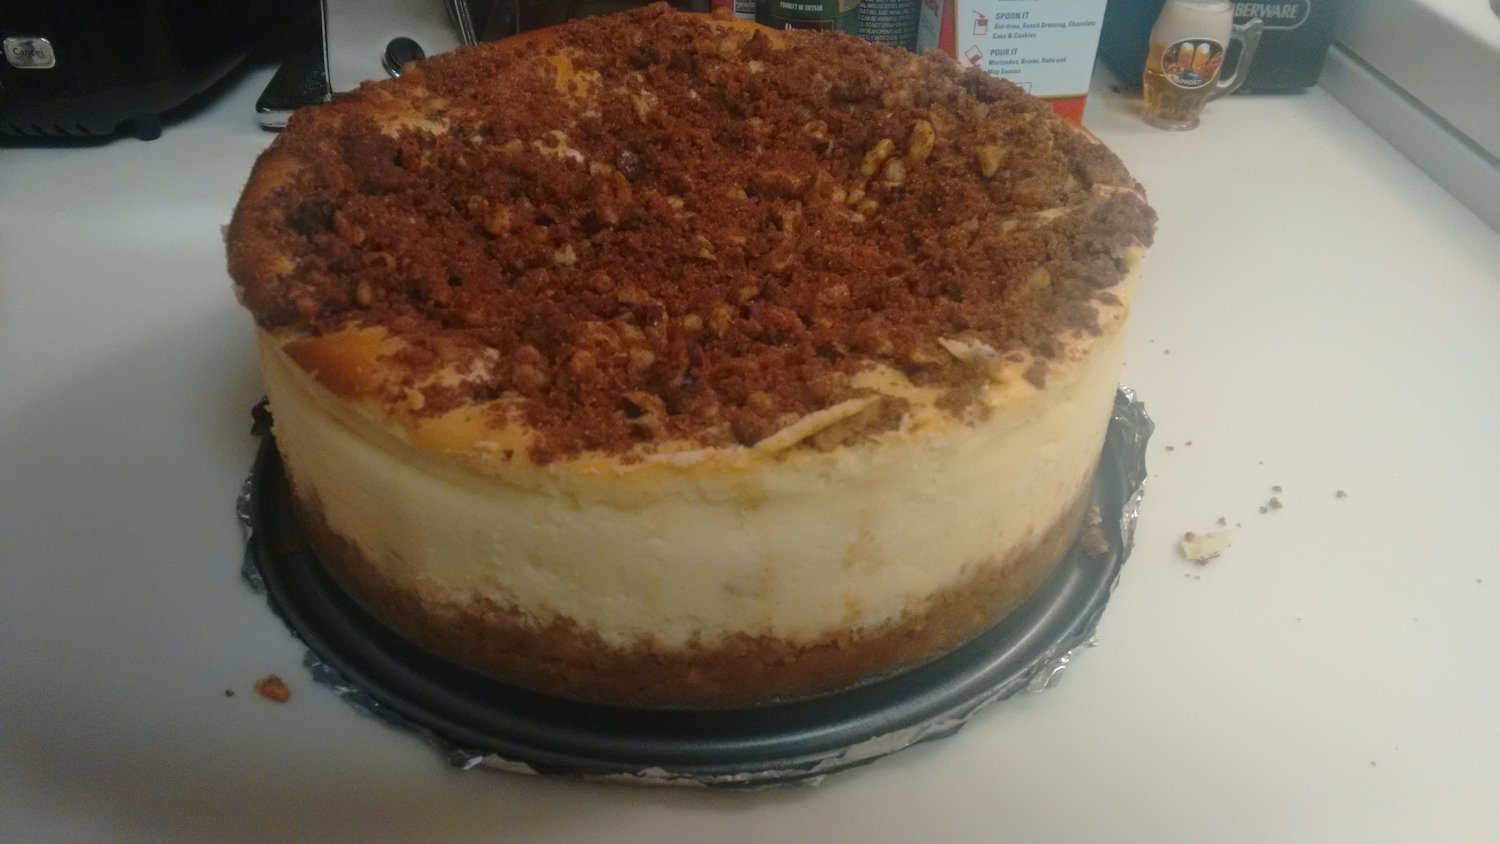
Overall, I would consider this food experiment a success. In fact, I would say,

The coloring, crust and cheesecake filling was definitely on point. As I have mentioned, I would tone down the apple fillling portion. I would highly recommend the two recipes I followed. If you want a slice and you are within 5 blocks from my place, shoot me a text.
Oh, and these Beers 'n Brats-flavored Lays chips were completely disappointing. Unlike the sharp-flavored of sour cream & onion or the savory barbeque sauce, this one was plain greasy. Just don't, and it would be a life decision well made.
